Handmade wedding cards run from a simple watercolor heart on cream cardstock to foiled sentiments and wax-sealed dried flowers, so the real divider is how much hands-on skill and patience you have before the deadline.
If you can wash a brush or fold paper, pick a watercolor, accordion or collage card; if cutting and tearing make you nervous, let dried flowers, a wax seal or a single line of gold foil carry the look.
Whatever you choose, settle the card size first, since A7 at 5" x 7" is the standard flat card and fits store-bought envelopes.
1. Watercolor Hearts or Florals
Soft watercolor suits anyone who can wash a brush but can’t draw a face. Skip the portrait and paint loose florals or hearts, since blurred edges hide wobbly lines instead of exposing them.
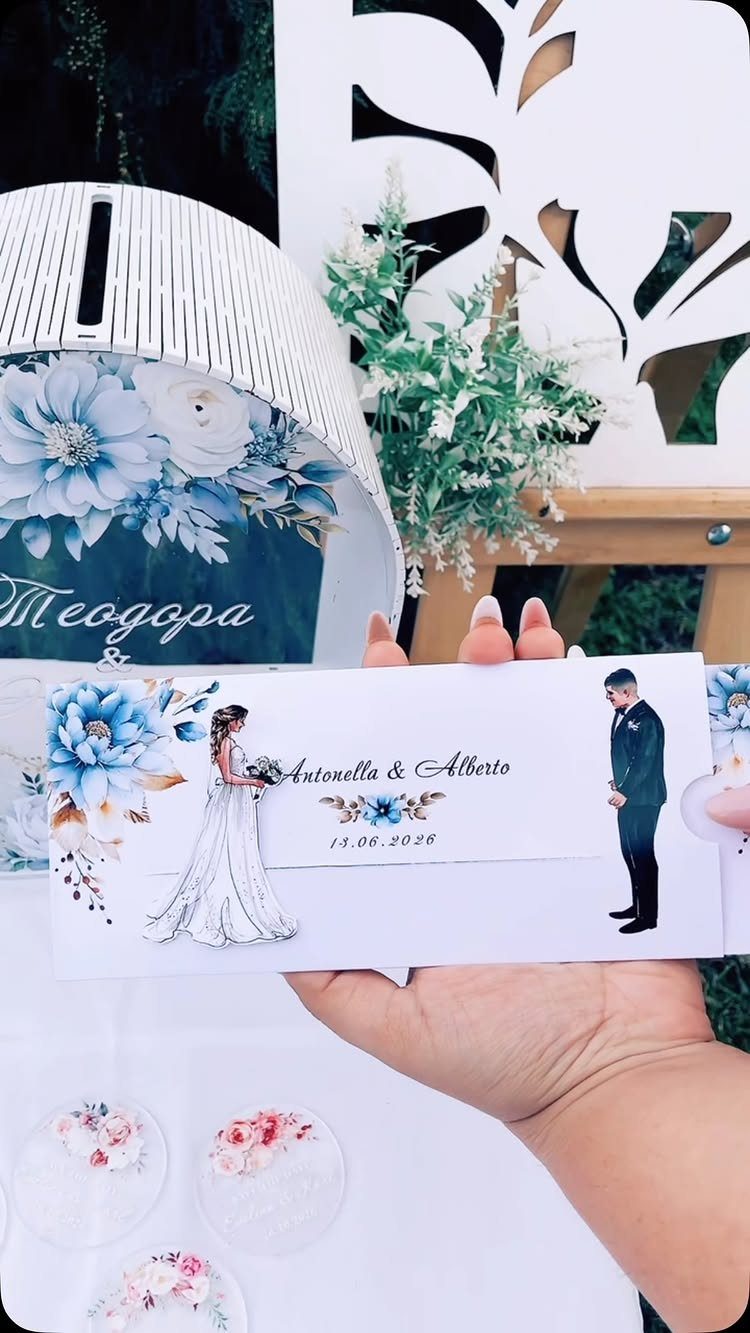
Blue, as on this invitation, keeps the palette simple: one pigment, thinned to two or three strengths, gives you depth without color-mixing worries.
If the couple illustration feels out of reach, print a scan of your own painted flowers behind the text. That gives you a single original and as many copies as you need.
2. Personalized Details
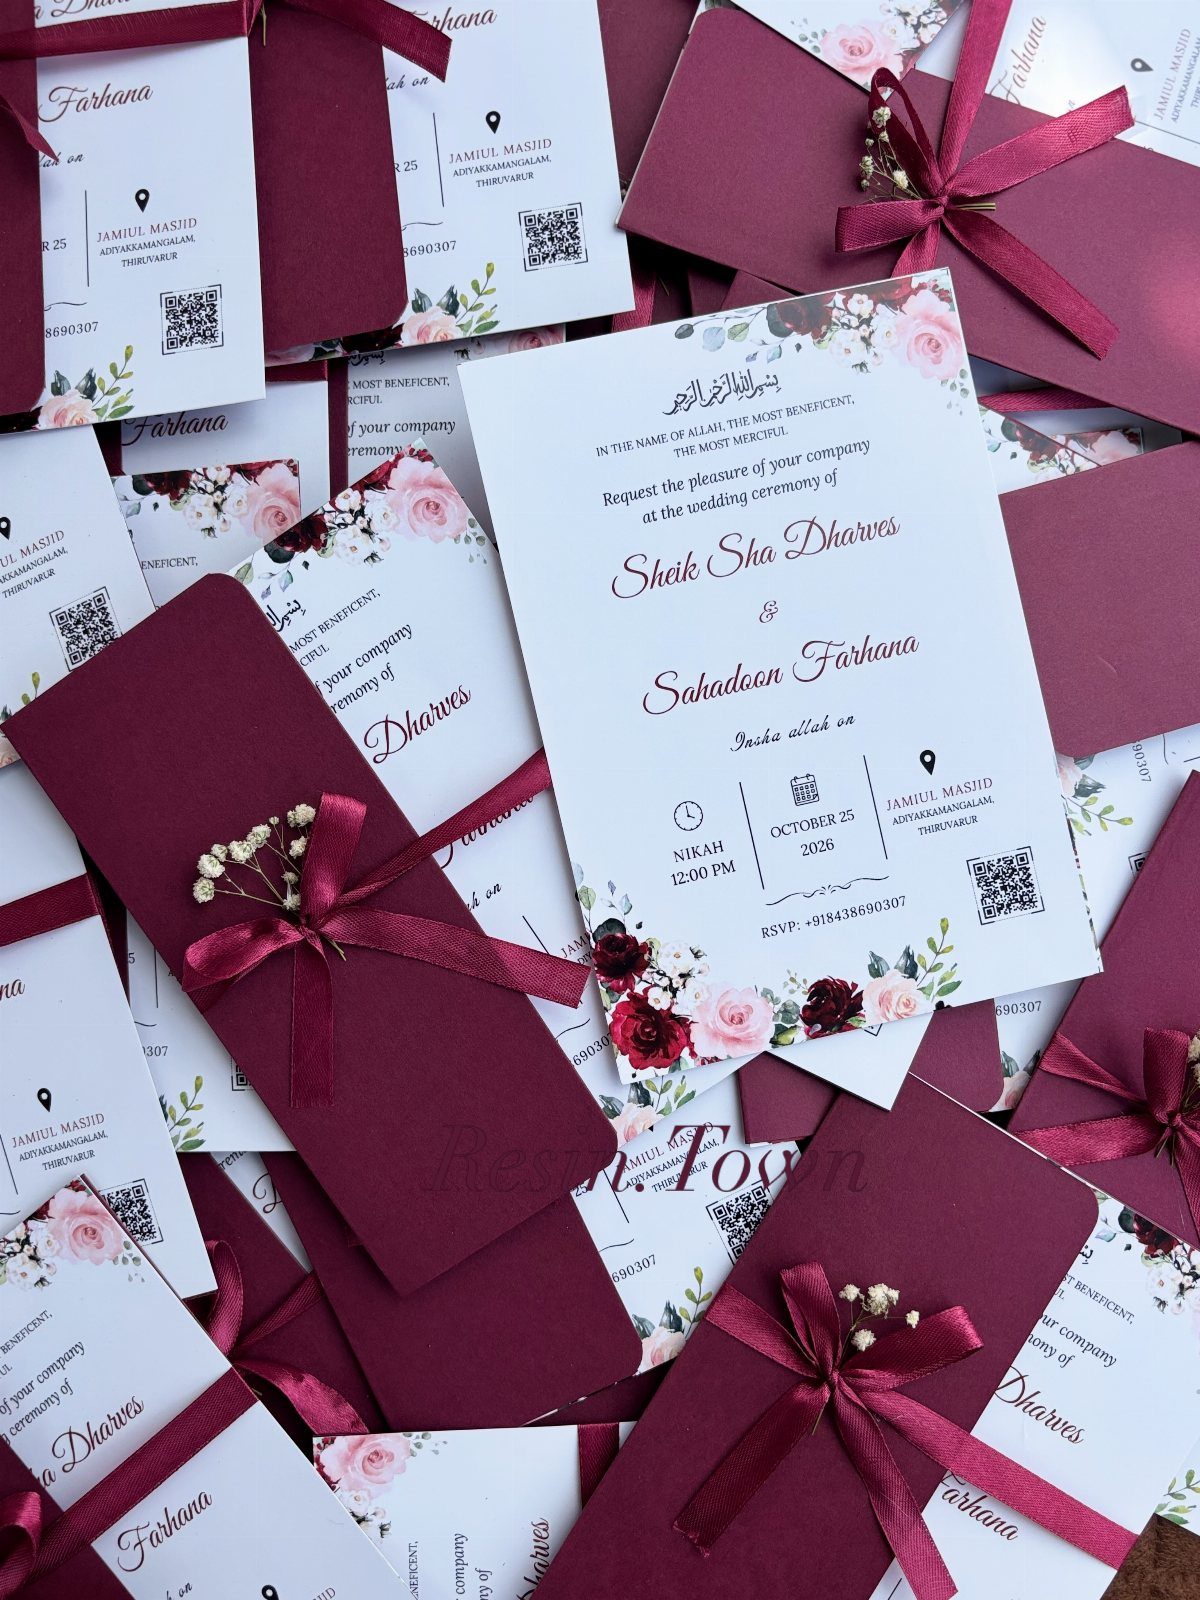
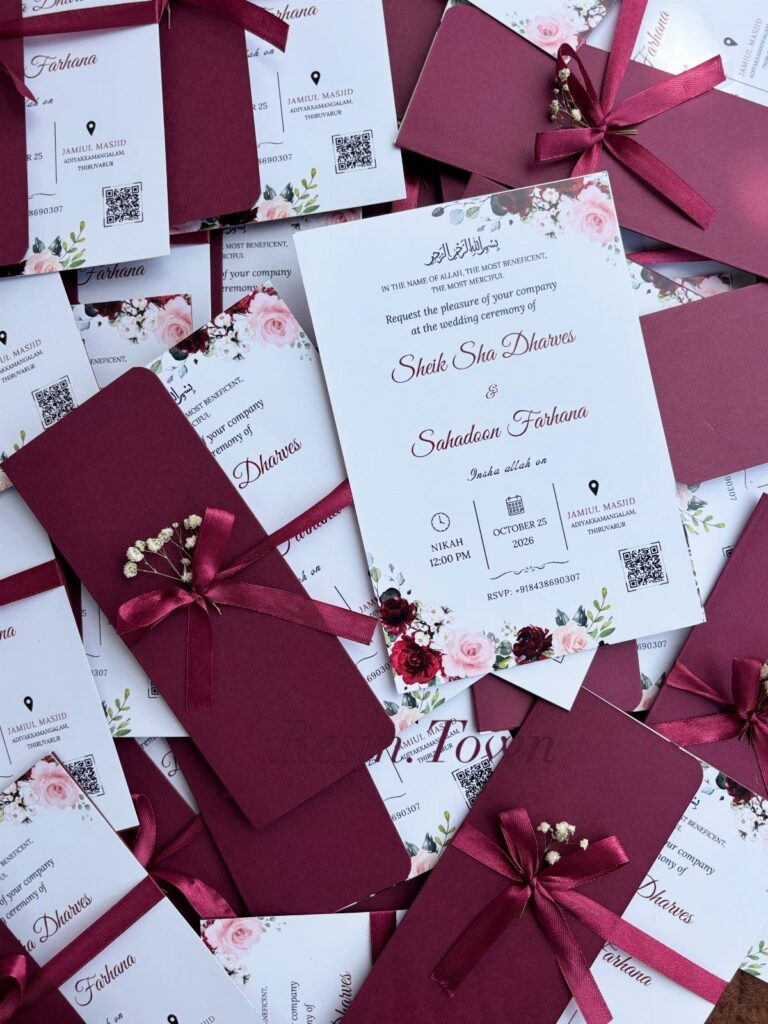
Names, dates and a venue line do the personalizing here, and they cost nothing but care. Print them on plain white cards, then let the ribbon and dried flowers carry the color.
Burgundy ribbon matched to burgundy envelopes looks planned, even when the cards themselves are simple. I would write the date out in full, as on this set, so nobody squints at numerals.
Proof every spelling twice before you cut or print a single card.
3. Paper Collage Cards
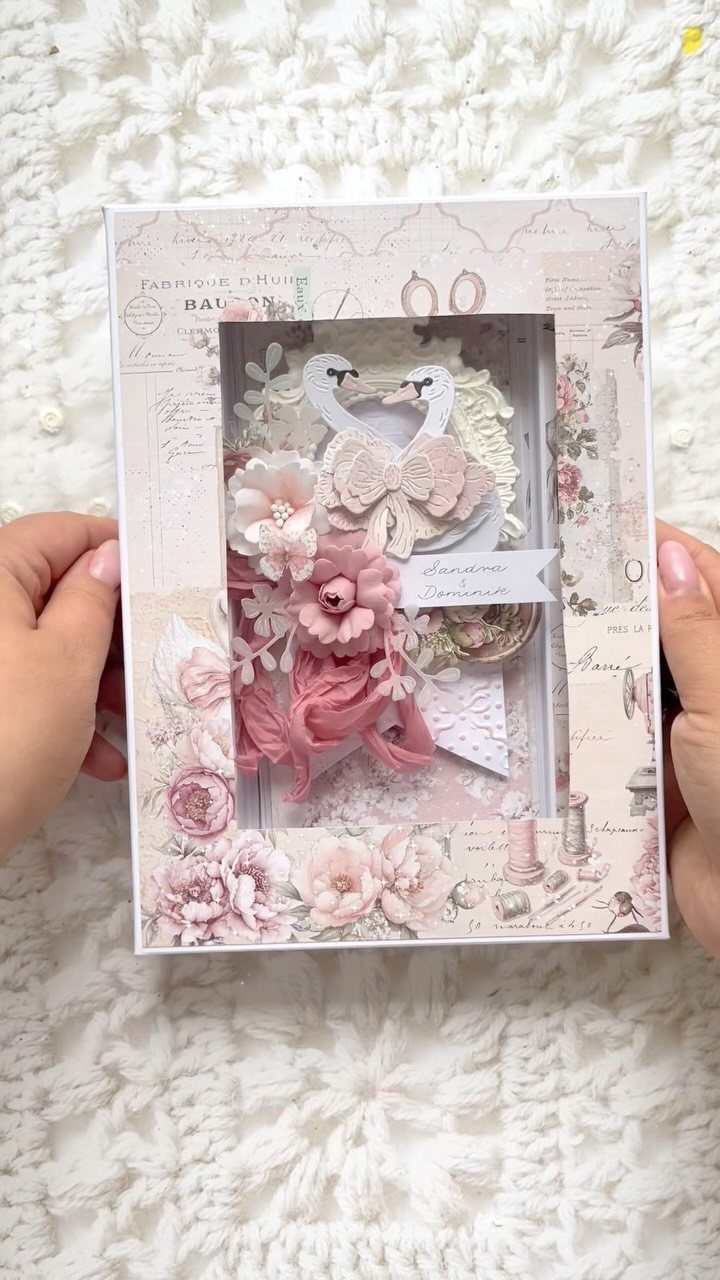
Layering cut paper into a frame, with swans and flowers popping up in 3D, rewards patience more than talent. Cut shapes from scrap paper first; a flower made of stacked petals reads as dimensional with almost no skill.
Glue the shapes down in order, back layer first. Foam tape under the swans lifts them off the card, though it adds bulk at the post office.
Keep the text area clear so the names stay readable against the collage.
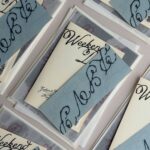
4. Foiled Sentiments
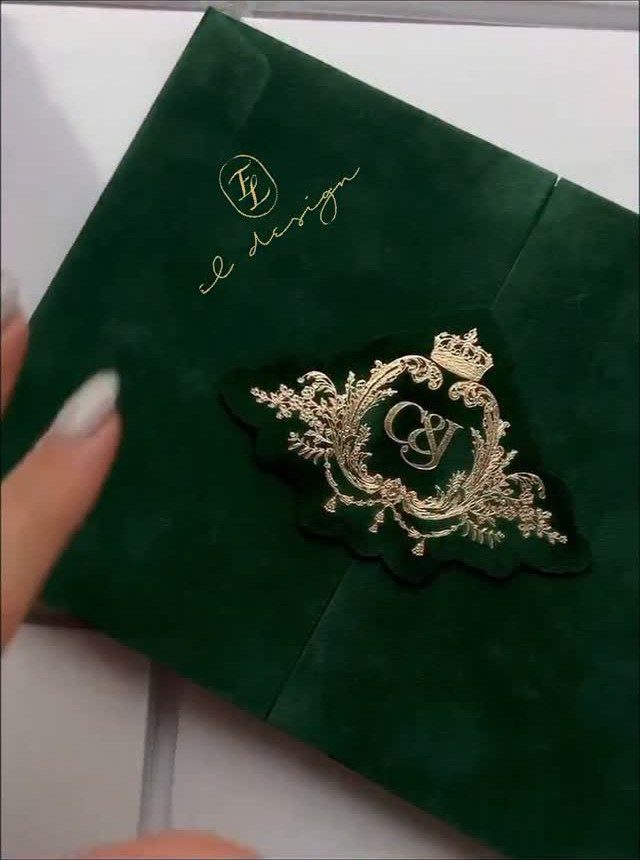
Gold foil on dark green velvet is the kind of finish that looks expensive for a reason: the contrast does the work.
Foil is hard to do convincingly at home, so ordering a custom crest stamp or printing is the realistic route. That makes it a splurge, best kept to one element, like a monogram.
If the budget is tight, use gold foil on a single line of text.
5. Intricate Lace Cutouts
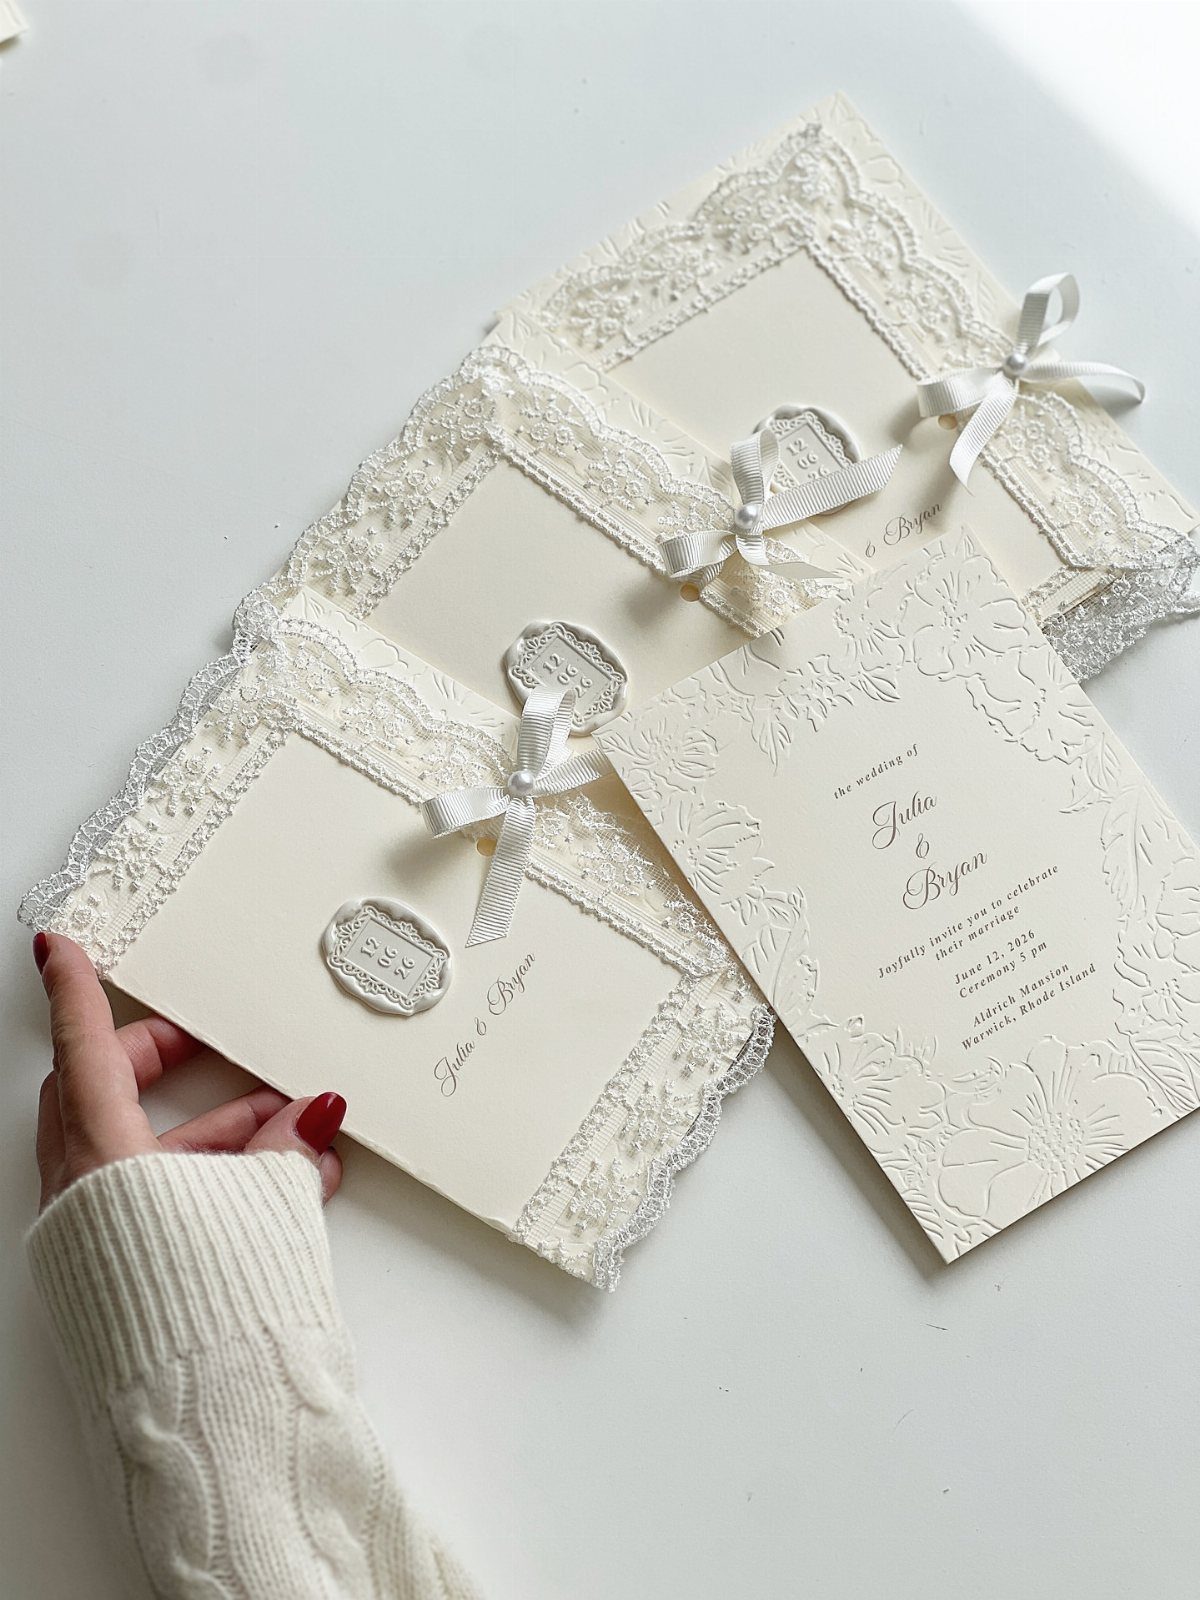
Lace trim wrapped around a cream card gives you the look of a cutout without a craft knife.
Buy it by the yard, glue or tape it down the card’s edge, and finish with a small bow and a wax seal.
Lace trim on cream paper stays quiet, so gold calligraphy lifts the names. Use a strong double-sided tape for the trim, since loose lace snags in the mail.
Make one sample first to learn how much lace each card eats.
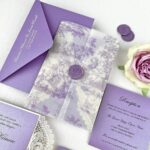
6. Dried Flowers and Wax Seals
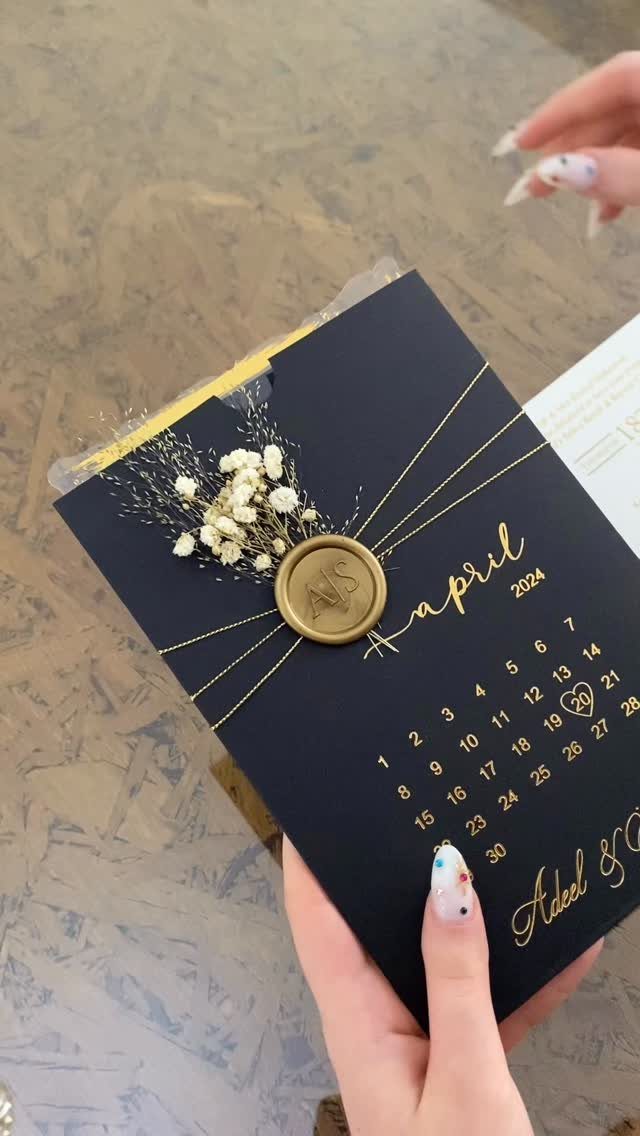
A navy card makes white dried flowers and a gold wax seal pop, and the gold calendar page marks the month at a glance.
Press a few sprigs flat, glue them near the seal, and keep them small so the card still slips into an envelope.
Pressed flowers are fragile, so handle them with tweezers and a dab of glue. Wax seals need practice; melt a few extras before you commit to the real cards.
Draw the calendar in a gold pen and highlight the wedding day.
7. Accordion Photo Keepsake Card
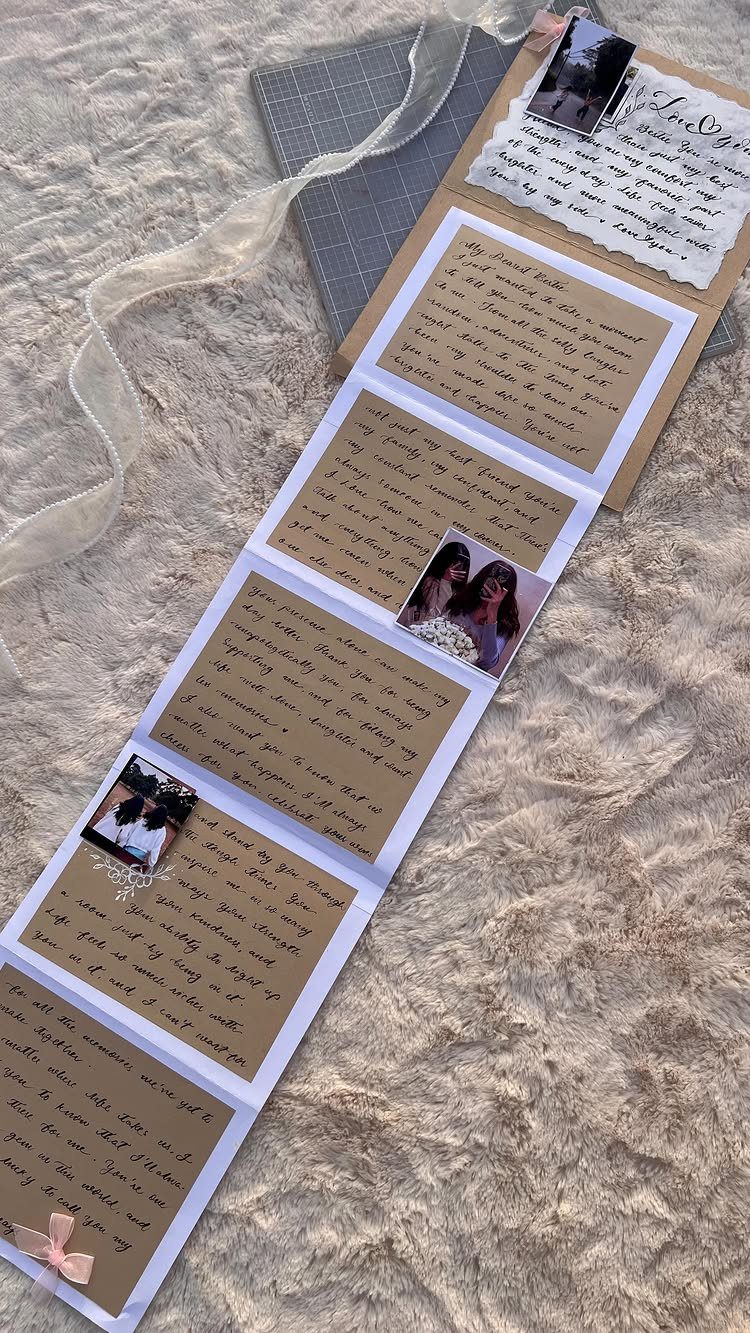
Folding a strip of kraft paper into panels turns a card into something a couple can stand on a shelf.
Each panel holds one photo or one handwritten line, so a few prints and a pen are most of the job.
Score every fold with a ruler before you crease it, and your panels will stack flat. Kraft is forgiving and cheap, which suits a tight budget.
A ribbon bow holds the folds closed, and pink, as here, adds warmth against the brown paper. Keep the photos small enough that the notes still get room.
8. Flower Petal Shaped Foldout
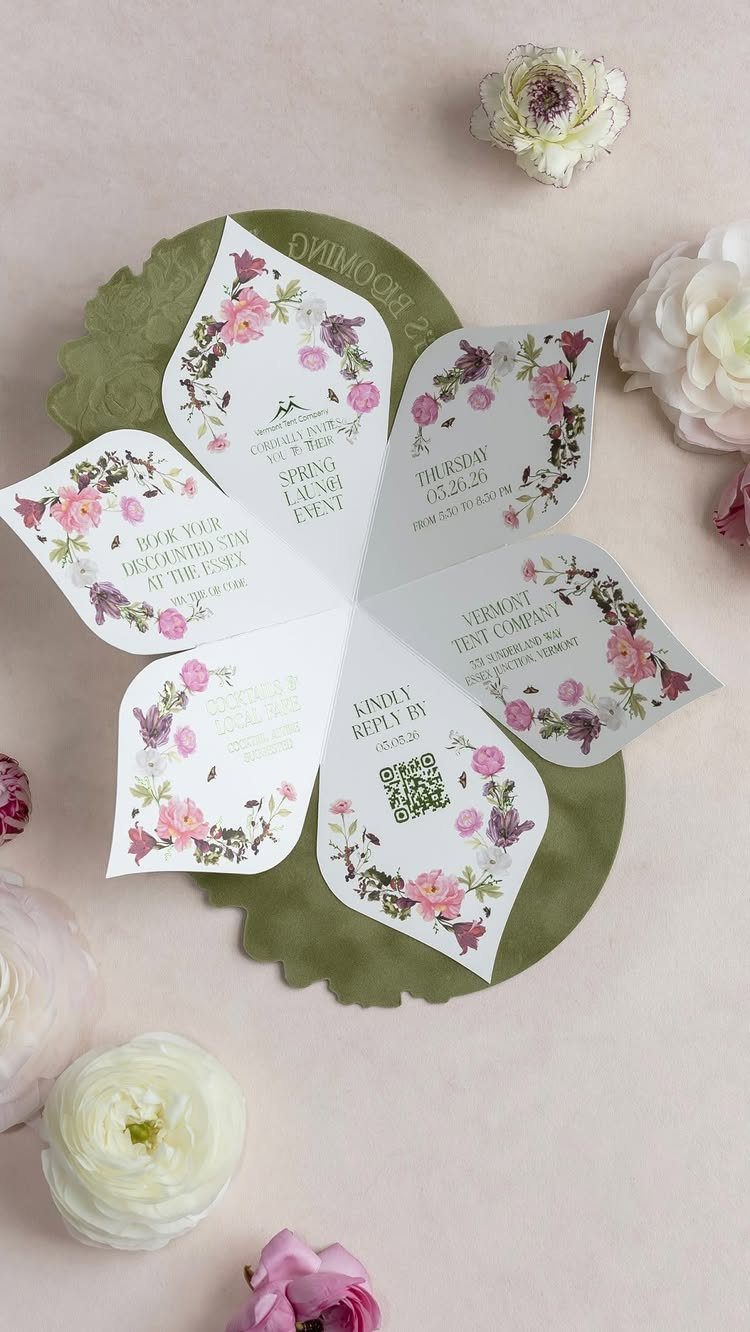
Petals that fan open around a center make an invitation feel like a bloom, and each petal gives you a separate panel for a different detail.
Names could go on one, the date on another, and venue and timing on the rest.
This takes a template and a steady cutting hand, so trace one petal shape onto cardstock and test it on scrap first. Floral illustrations fill the space well; a few printed sprigs per petal do more than crowding every inch.
Fresh white and pink flowers set beside the card make a pretty photo prop, but they add cost and wilt fast, so treat them as optional and skip them if the budget is tight.
9. Deckled Glitter Edges
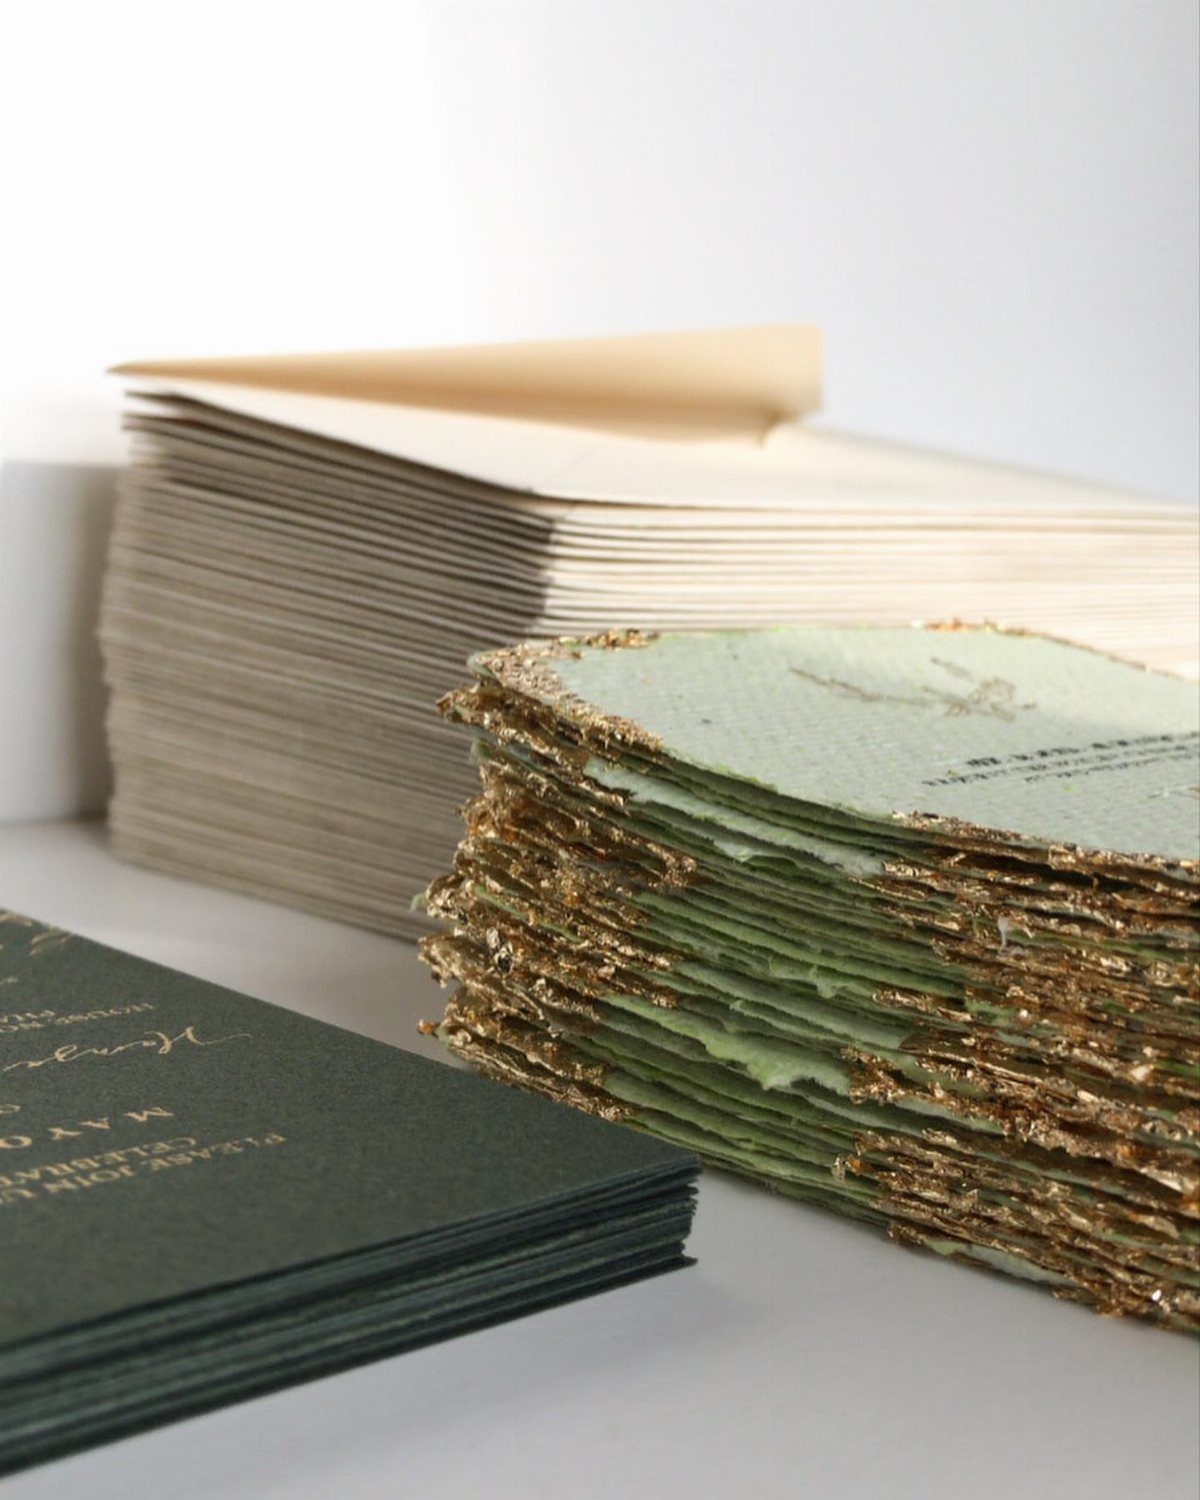
Tearing the edge instead of cutting it gives paper a soft, uneven border, and a line of gold glitter along that edge catches the light.
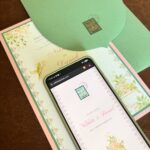
Sage green paper with gold print keeps the look calm, so the sparkle reads as a accent.
Tear toward yourself along a ruler, wet the line first if you want a feathered fiber edge, then brush glue on the rim only.
Tap the glitter on over a sheet of scrap paper and pour the extra back into the jar.
Glitter sheds, so seal the dried edge lightly before you stuff envelopes.
Advice for DIY Cards
Artistic skill matters far less than effort. A simple card made with care reads as meaningful, and the people receiving it will remember the time you put in.
Choose thicker cardstock for the base. It stands up to handling and mailing, and it holds glue and paint without curling.
If watercolor worries you, try embossing the image first. The raised ridges hold the paint in place, so the color stays inside the lines and the result looks polished with very little effort.
What to Write in a Card
Keep the message heartfelt and personal. A good card needs only one of three things: a line of congratulations, a small memory of the two of them, or a hope for the years ahead.
Two or three sincere sentences beat a long message you had to strain to write. Two or three sincere lines beat a long paragraph that sounds forced.
Draft the words on scrap paper before you write on the card, so the final version has no crossed-out lines.
Card Size Recommendations
Two standard sizes cover most needs: A6 and A7, where A7 is the 5" x 7" card that most store-bought envelopes are made for. Both fit store-bought envelopes, which saves you a step and some money.
Making your own envelope opens up any size you like. Online templates make the folding easy, so a larger or square card becomes possible.
Whichever route you pick, settle the size before you cut anything, and buy the envelopes first if they come from a store.
Frequently Asked Questions
Do I need to be artistic to make a handmade wedding card?
No.
Care and effort count for far more than drawing skill, and a simple card made carefully still reads as meaningful. Nervous about painting?
Leave out faces and stick to loose florals or simple hearts, because soft watercolor edges blur any wobble in the line. Embossing the image first also helps, because the raised ridges keep the paint inside the lines.
What kind of paper should I use for handmade wedding cards?
For the base, I reach for thick cardstock first. Look for at least 65 lb (175 gsm), and go heavier, around 80 lb (216 gsm), if you are adding watercolor or layers of material.