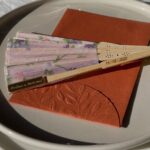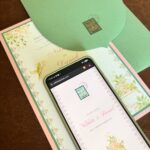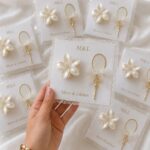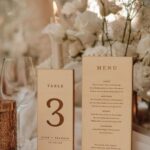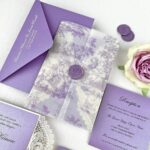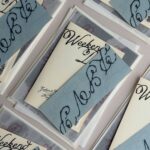
The styles here run from a simple wrap and a rubber stamp to layered paper, lace trim and feather and wax seal details, and the gap in effort matters more than the gap in cost.
Your deadline picks the design: the layered look means cutting and assembling every set, so a tight timeline favors a plain card with one handmade wrap or a single wax seal.
1. The Layered Look
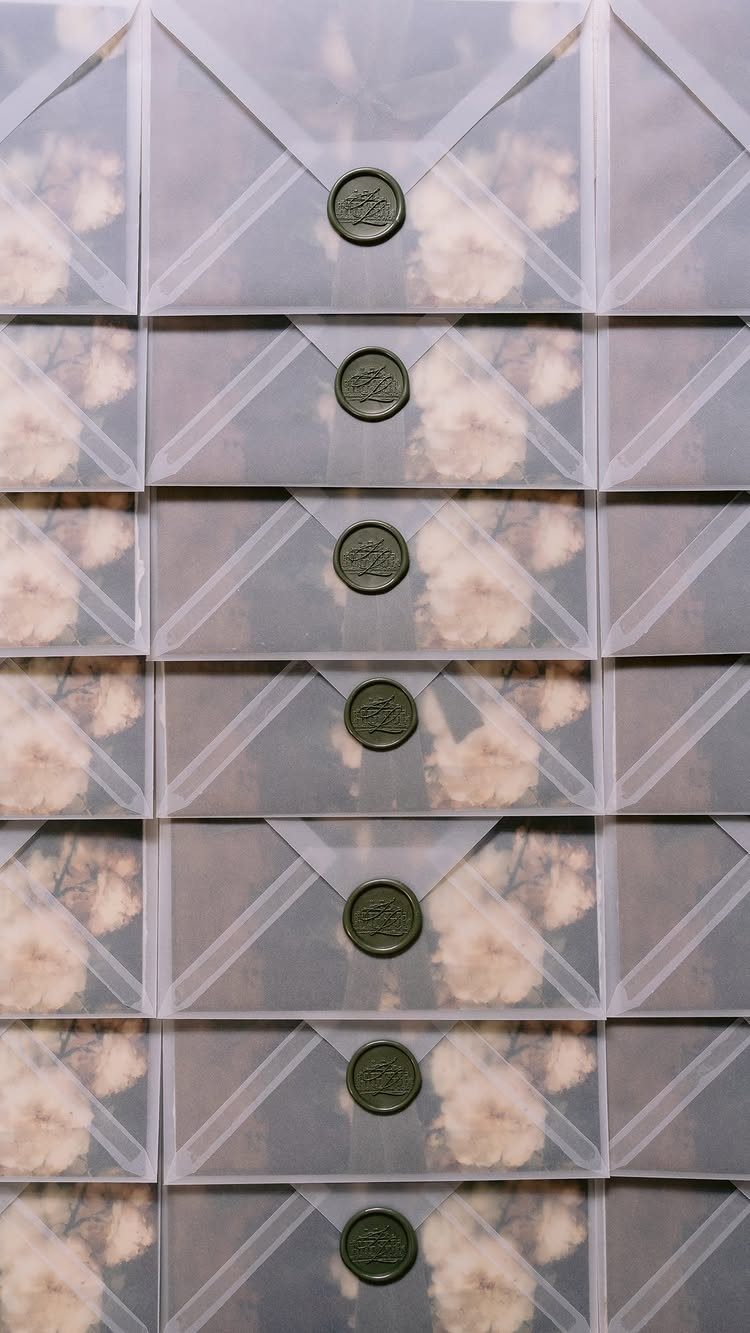
Vellum is the detail that makes layering work: a translucent envelope lets the floral insert show through, so the invitation is half revealed before anyone opens it.
Choose an insert with a strong pattern, since the vellum will mute it a little. I’d keep the seal color tied to the greenery in the florals.
Layering adds steps to every invitation, so test one complete set before you commit to a full batch.
2. The Wrap
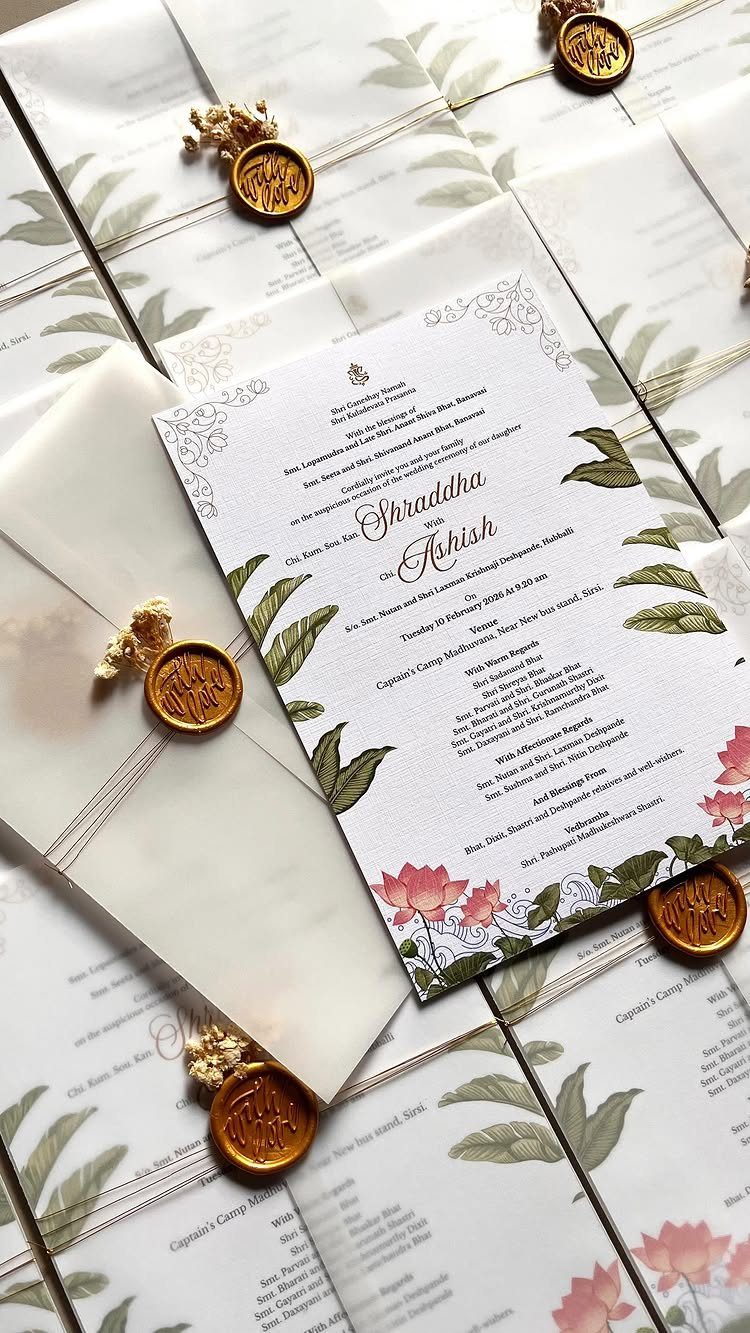
A paper cuff, tied with ribbon, turns a plain flat card into something that feels assembled by hand.
Gold ribbon and a gold wax seal on a white vellum wrap make a good case for restraint: one metallic, one wrap, no extra clutter.
You can buy standard cards and make only the wrap yourself, which keeps the crafting manageable on a deadline. Cut the wrap slightly shorter than the card so the design still shows.
Practice the ribbon knot on scrap first; a crooked one is the first thing people see.
3. Rubber Stamping
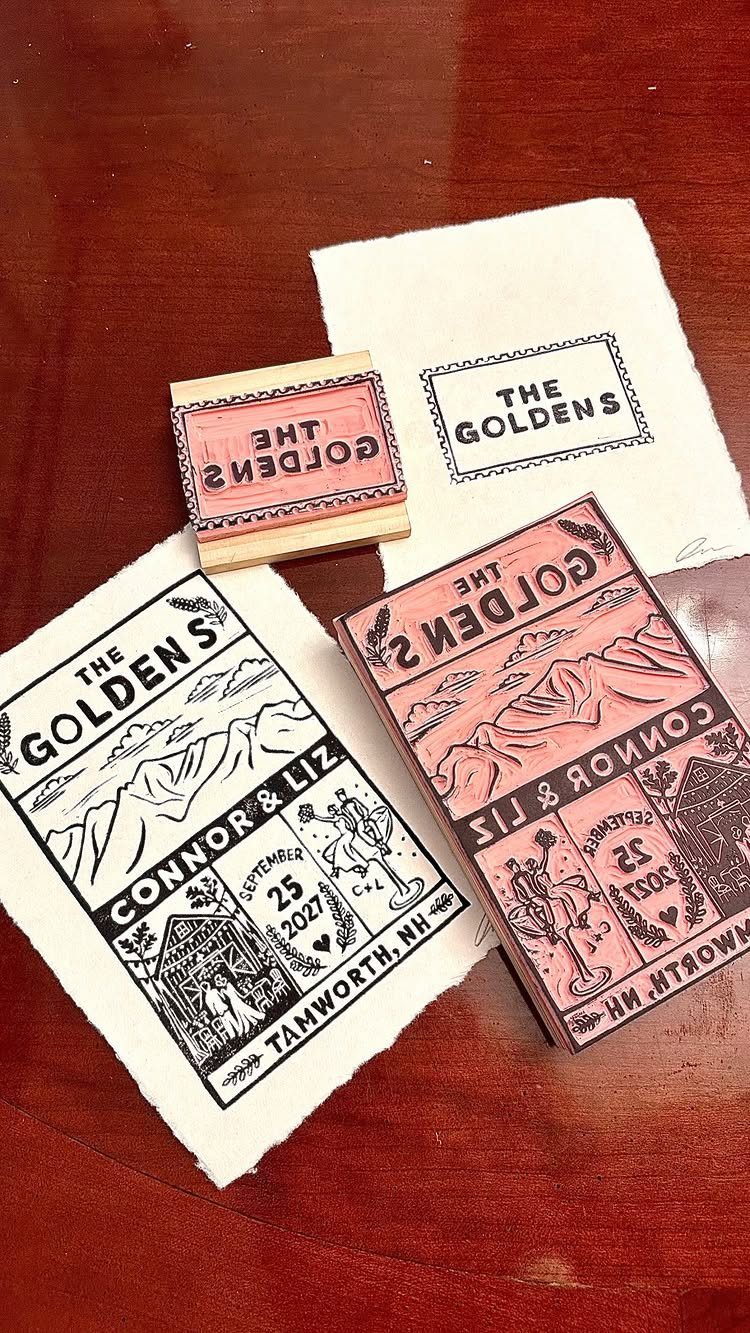
Custom stamps make a small run of invitations feel printed without a print bill.
Black and pink ink on handmade paper gives a soft, uneven finish, and a stamp for names, one for the date and one for the location covers all the wording.
Stamp a few test sheets before touching the good paper, because pressure changes how dark each impression looks. Let the ink dry fully before stacking.
Handmade paper has texture, so expect slight variation from card to card. I like that, but it won’t suit anyone wanting perfect uniformity.
4. Lace-Trimmed Invitations
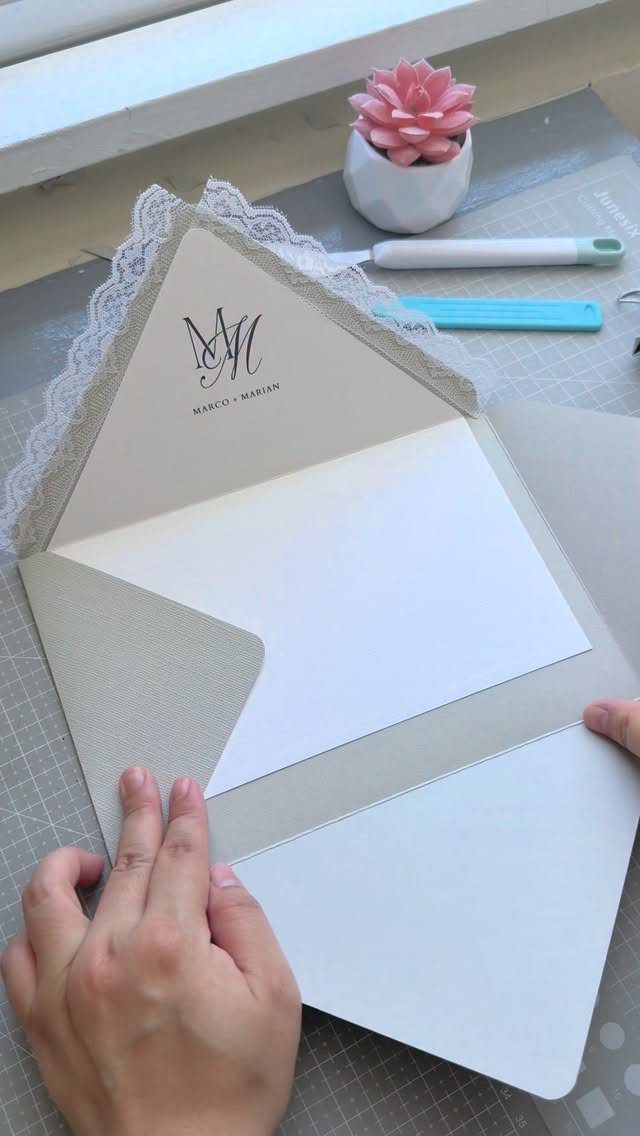
Lace along the flap edge is an easy way to add romance to a beige suite, and a monogram on the card ties the look together.
A cutting mat helps here, since the lace needs straight, even trimming before it goes on.
Glue it with a thin, even line of adhesive that dries clear, and press it flat while it sets. Cut every length against the same mark so the flaps match.
I’d keep the rest of the suite simple. Lace already carries the decoration, and a monogram is enough on top of it.
5. Feather and Wax Seal Details
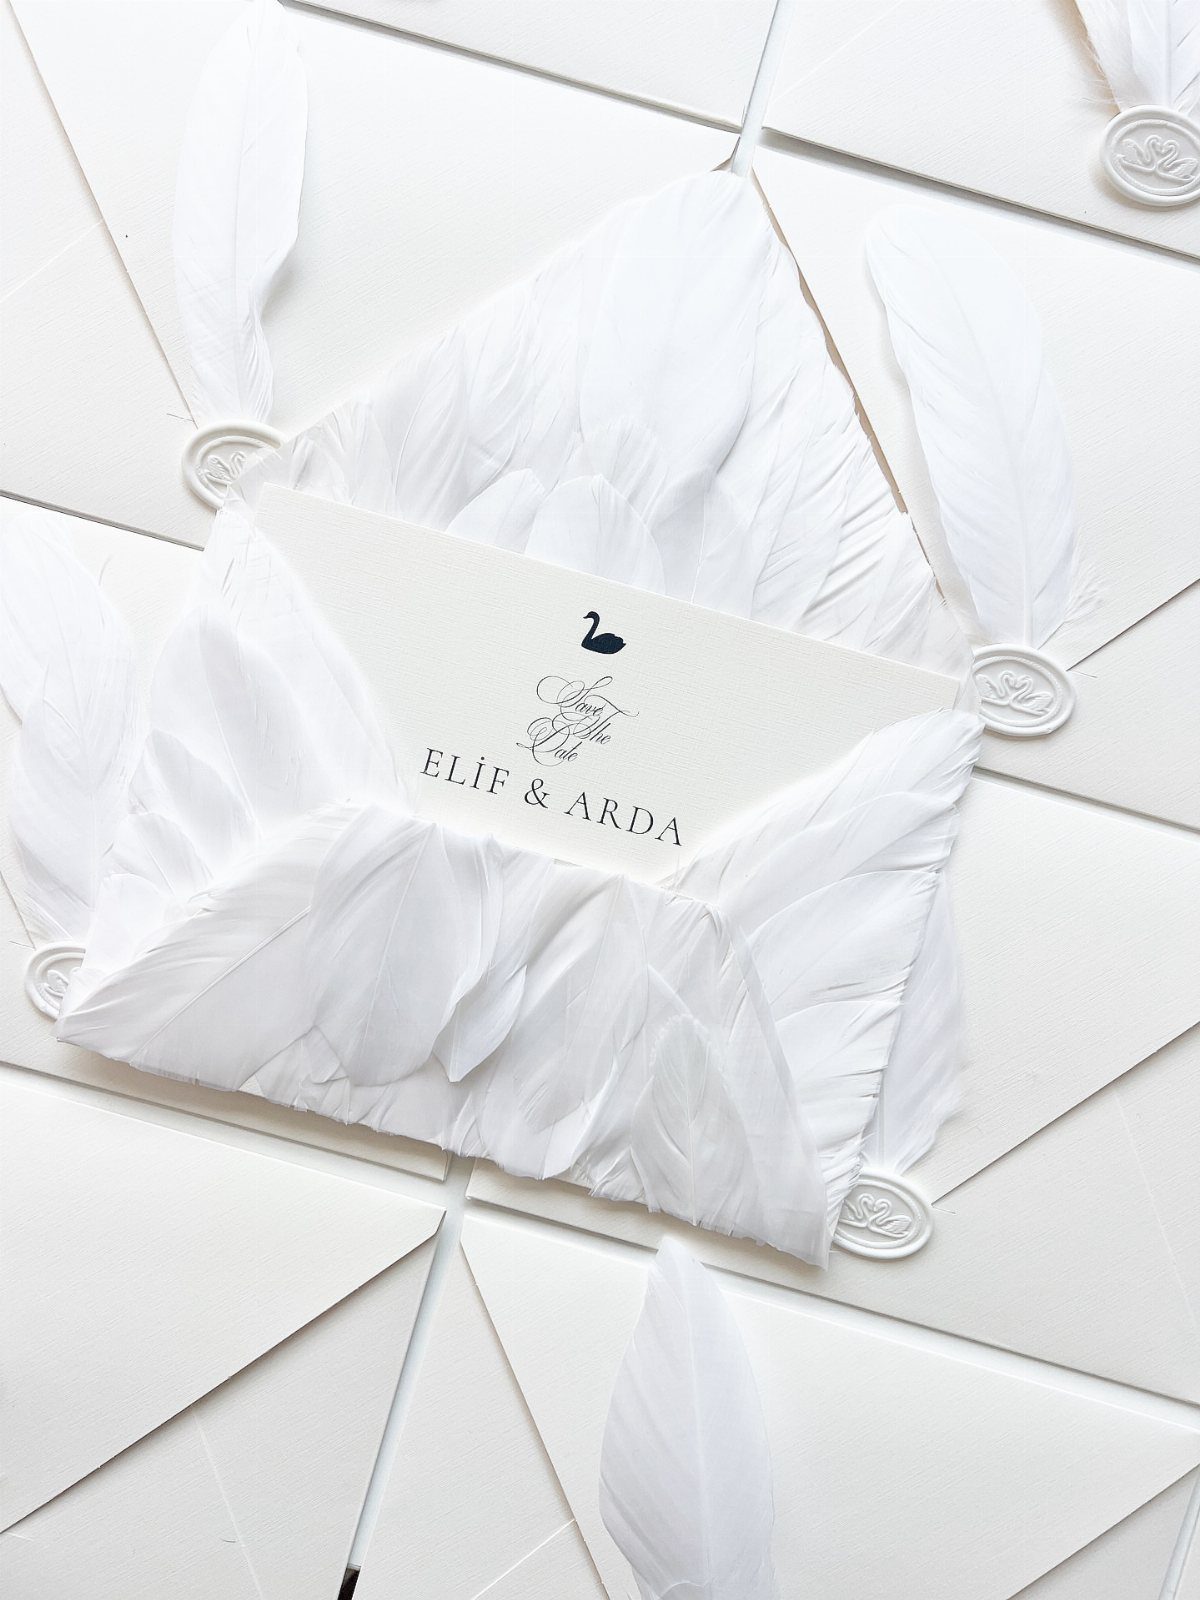
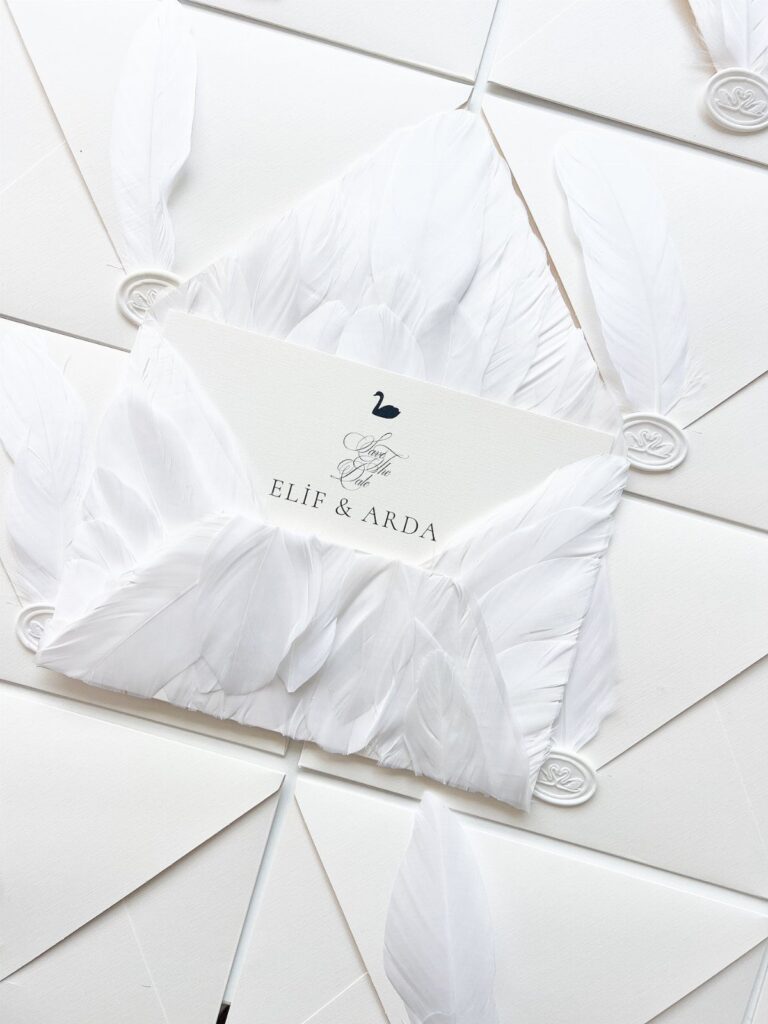
Real white feathers laid on white envelopes make a quiet, tone-on-tone suite, and a custom wax seal with your own logo or initials finishes it. Because everything stays white, the texture does the talking.
Press a feather flat under the seal or tuck it beneath a ribbon so it survives the mail. Feathers are light, but they can still bend in transit, so plan on a few spares.
A custom seal costs extra over a stock one; if money is tight, put the custom stamp on only the envelopes and use plain wax elsewhere.
Cost Considerations
For a budget anchor, a three-layer design (printed vellum on top, a small stamped card in the middle, a larger colored card underneath) runs close to $100 for a run of 50.
Handmade sets in this style tend to cost $100 to $110 for 50 invitations, so the bill stays well under what most printed suites charge.
Run your own numbers before assuming handmade wins. Add the stamp, ink pad, adhesive and a cutting mat to the paper total, then count what you already own.
Your time is the other cost. Cutting, stamping and assembling 50 sets takes many evenings, so a deadline can make a simpler design the better buy.
Order 10% extra of everything, since ruined cuts and smudged stamps happen to everyone. That small cushion costs far less than reordering one paper stock later.
The vellum is attached to the cards with metal eyelets. It costs about $100 to make 50.
Materials Needed
A layered invitation for 50 guests needs a specific shopping list, and counting it first prevents a second trip.
- Buy 25 sheets of letter-size vellum, 8½ by 11 inches, and check that the package says it takes a printer, since ink beads up on the wrong kind.
- A rubber stamp and a colored stamp pad
- Mini glue dots
- A craft knife, metal ruler and cutting mat
Each sheet of vellum gets cut into two pieces, so 50 invitations need 25 sheets, and with the 10% buffer I recommend you should order 28. Check that your vellum says it works with your printer, since ink can smear on the wrong kind.
A metal ruler matters more than it seems. A plastic one gets nicked by the blade, and the nicks wobble every cut after.