Program fans range from a flat cardstock sheet printed at home to a multi-panel folding design, and a flower shape sits at the far end of that range, so effort and cost climb with every extra cut and fold.
Temperature settles it: at an outdoor summer ceremony a fan is equipment, so sturdy cardstock beats a delicate finish, while a cool indoor room makes a fan a nice extra that a tight budget can skip.
The paddle shape gives the largest printable face, which is why I treat it as the safe default.
1. DIY Wedding Program Fans
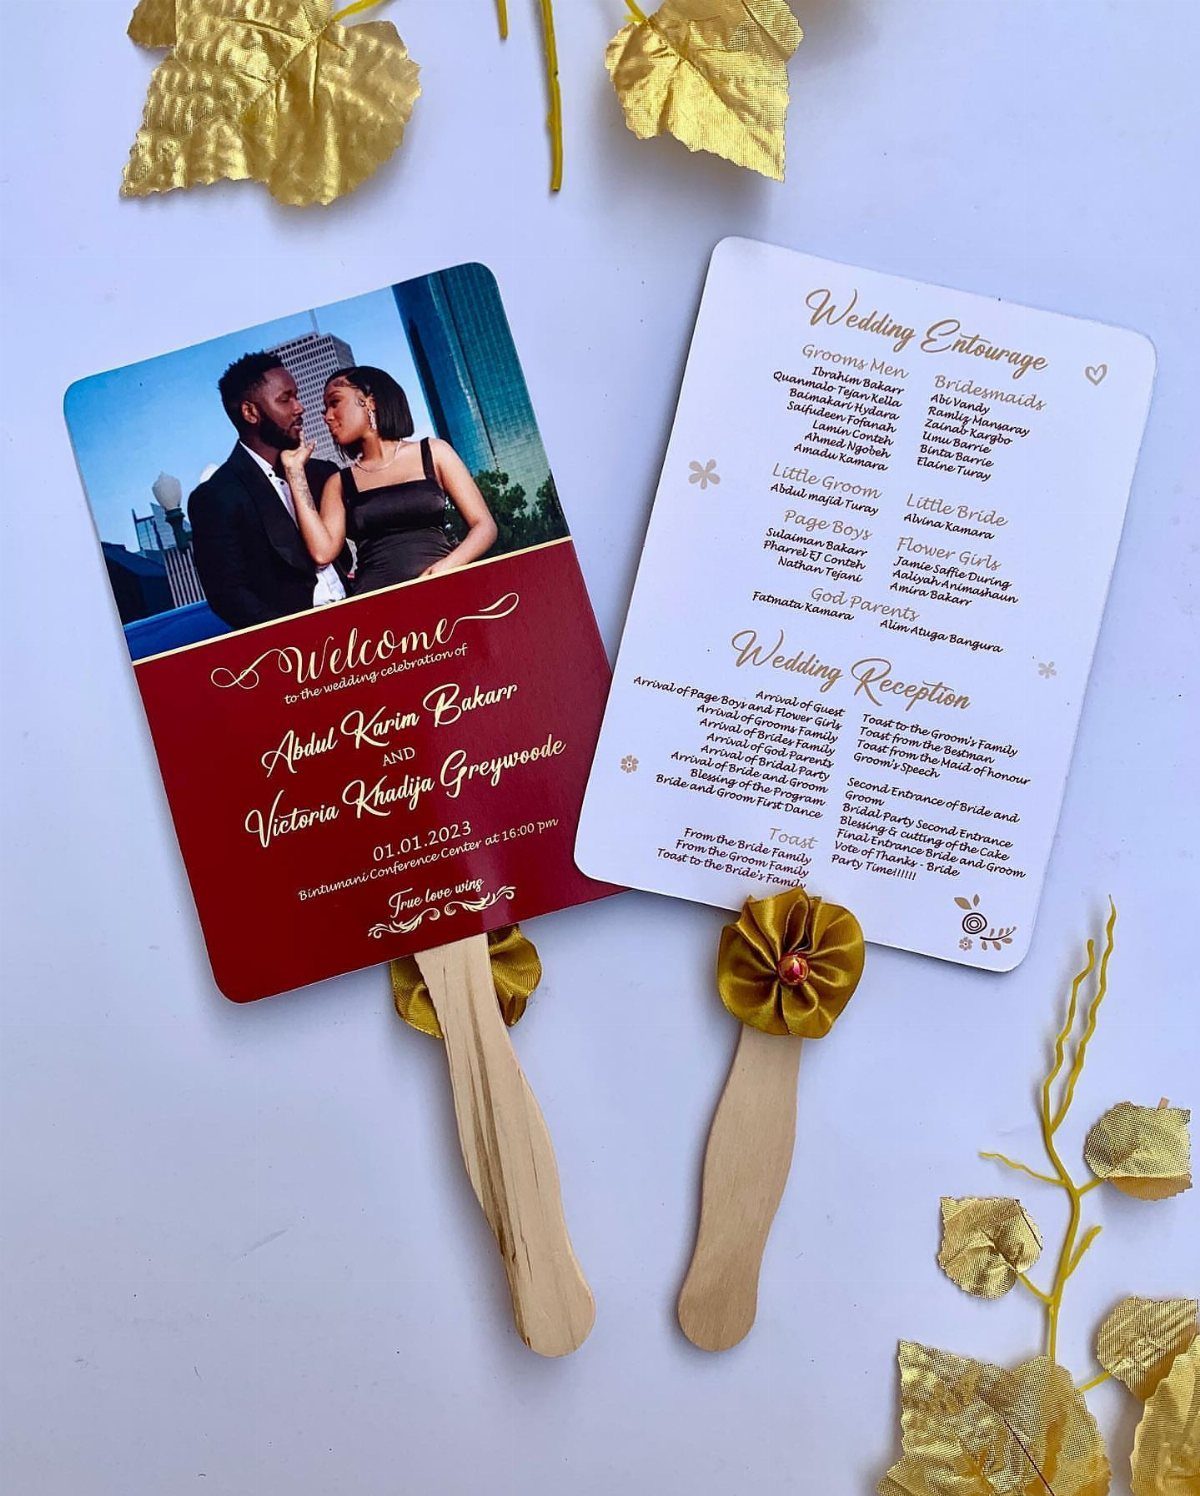
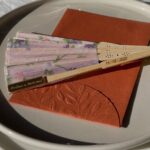
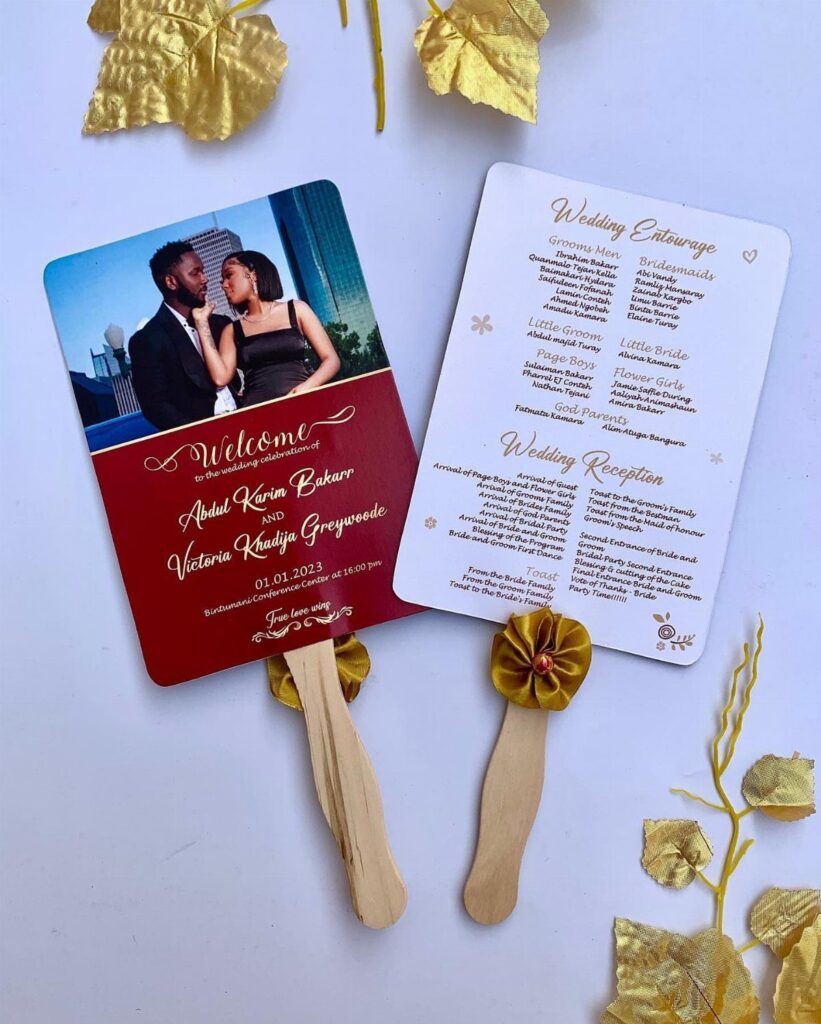
A program fan earns its place by carrying everything a printed program would, so give each side a job. Put the couple’s photo and names on the front, then use the back for the entourage and reception schedule.
Wooden sticks keep the cost low and the build simple, and gold leaves on white look finished without extra supplies. I would print both sides before gluing anything, so a typo gets caught while it still costs one sheet.
Plan the text first; the back runs out of room faster than you expect.
2. Wedding Program Fans Placed in Baskets
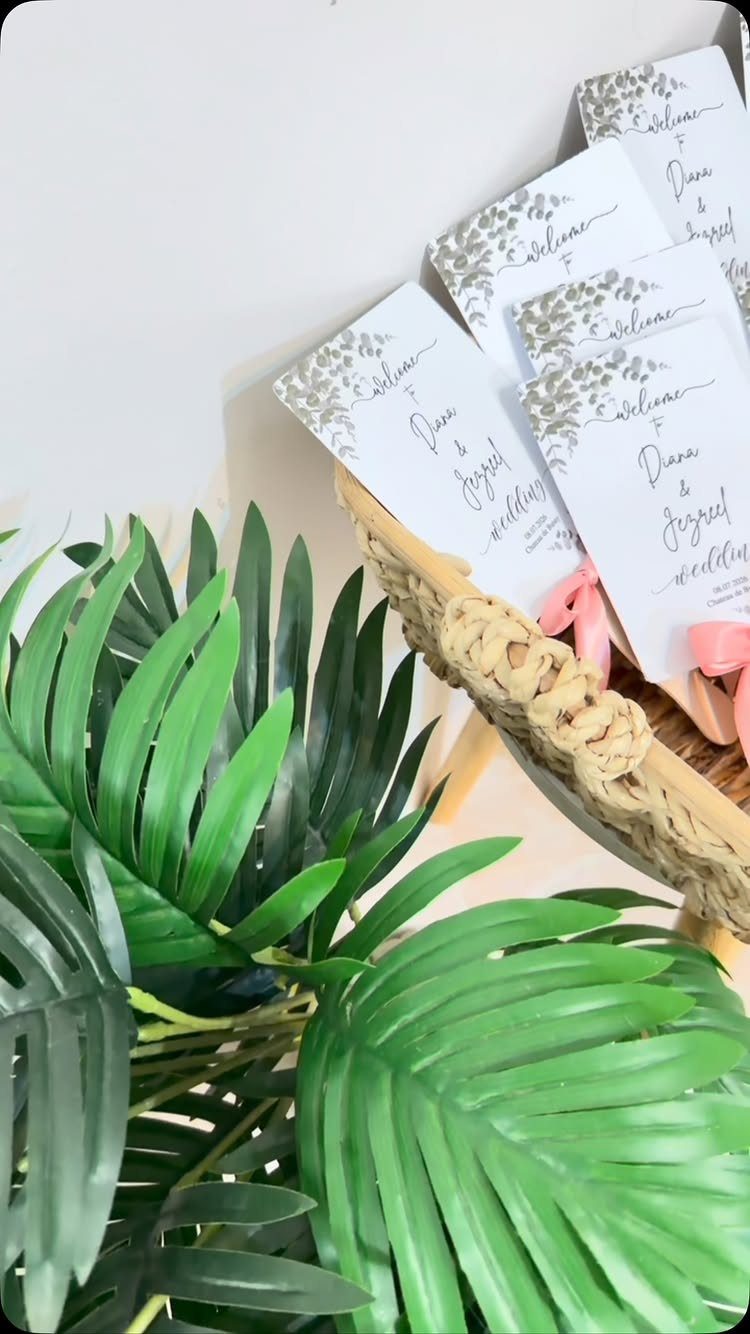
Stacking fans in a woven straw basket turns a pile of paper into part of the decor. Guests can grab one on the way to their seats, which saves you from handing them out or placing one on every chair.
A basket also keeps the count visible, so you can see when it runs low. Set one at the ceremony entrance, and add a second if the guest list is large.
Printing a welcome line across the front, as these do, makes each fan read as a greeting before anyone opens a program.
3. Cardstock Wedding Program Fans
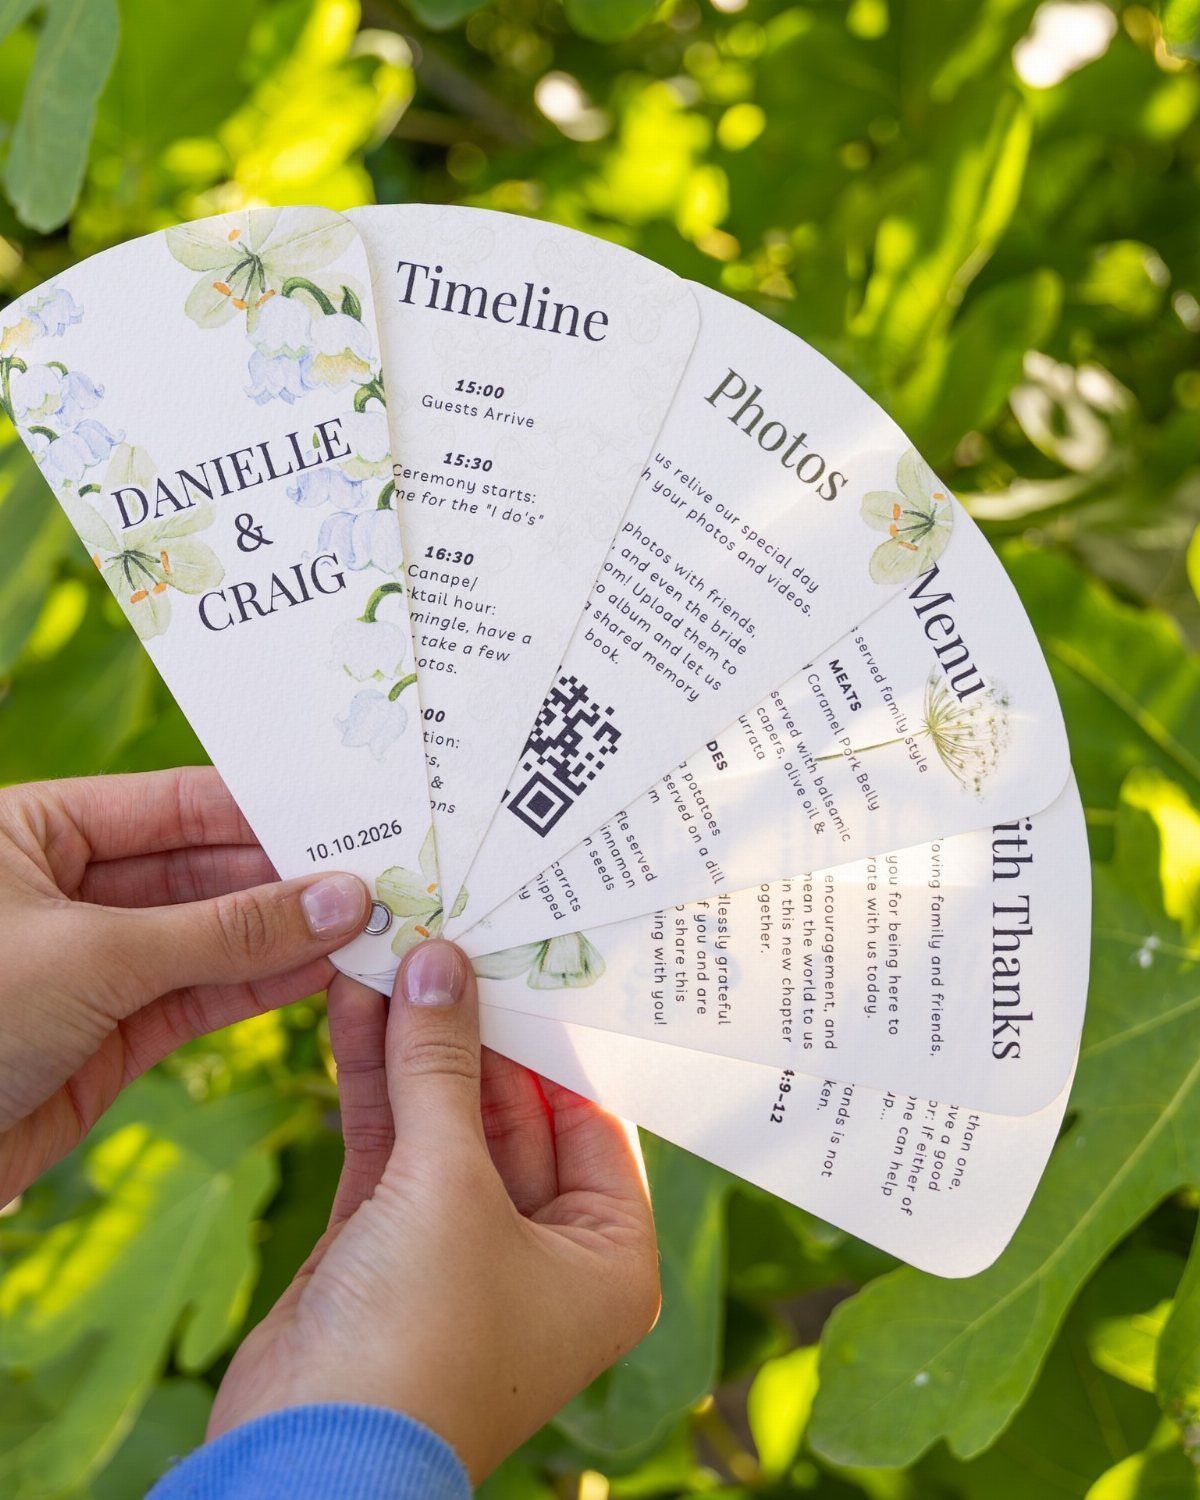
Cardstock gives a fan enough stiffness to move air without bending, and it takes a home printer well, which suits a tight budget. Sections such as Timeline, Photos and Menu keep a small surface organized.
Pick a floral accent that stays light so the text stays readable. I would print a single test fan first and read it at arm’s length, because small type that looks fine on a screen often fails in a hand.
4. Elegant Minimalist Fans
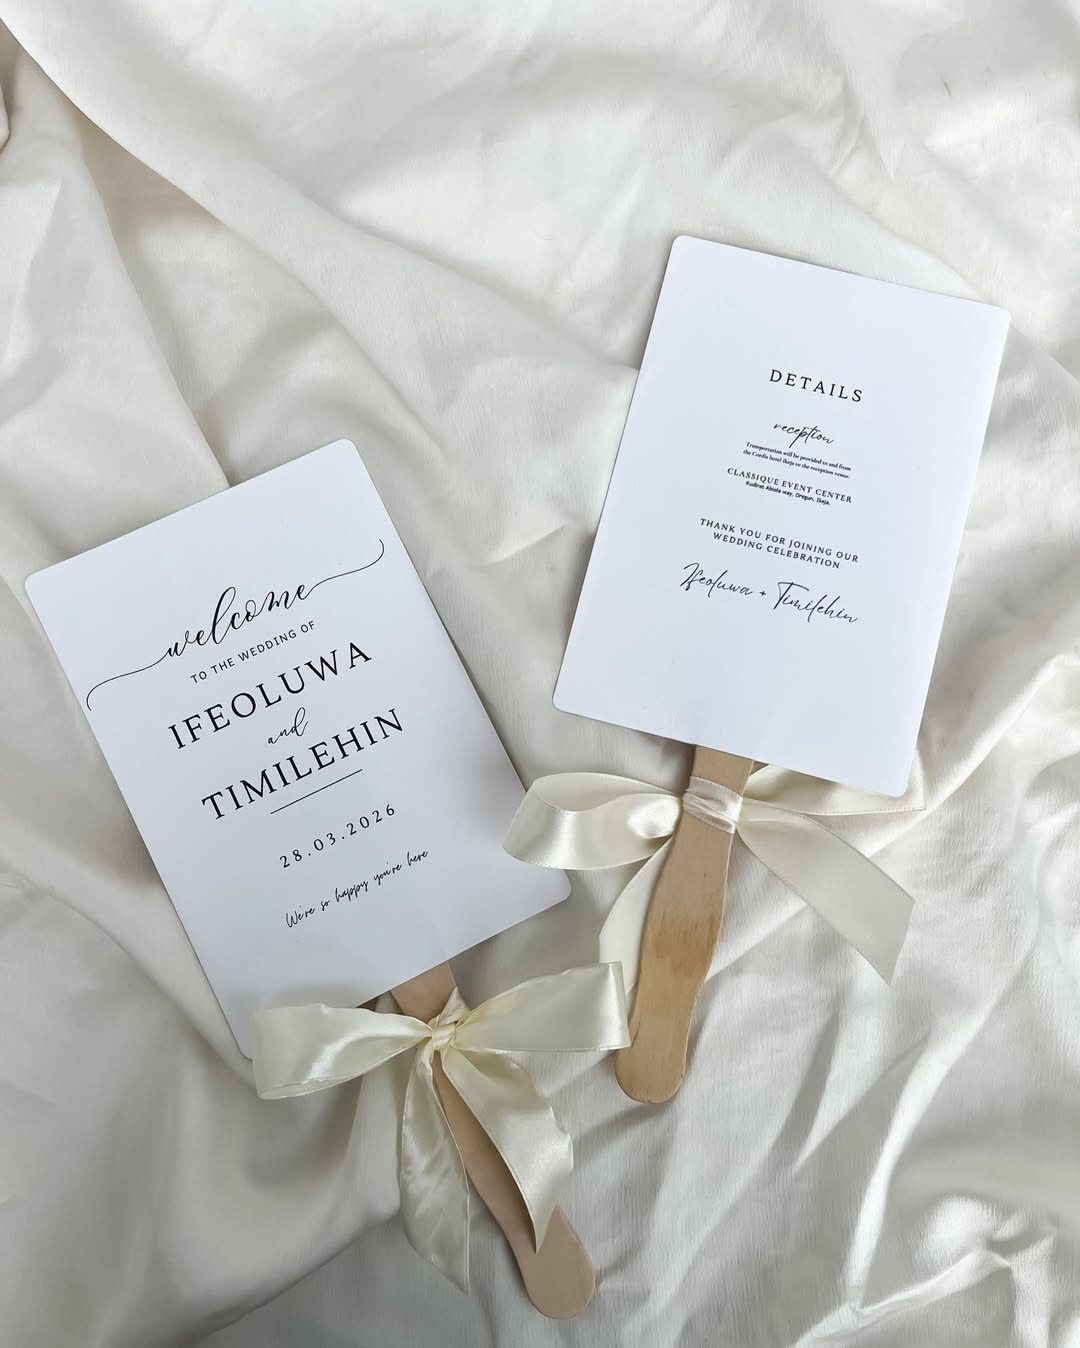
Restraint carries the design: white cardstock, a wooden stick and one satin bow are enough, and the paper does the work.
With so little decoration, the type has to be right, so keep the fonts to two and leave generous white space around the details.
A date written in numerals, like 28.03.2026, sits cleanly on a minimalist layout. The bow is the only color decision, and cream keeps it soft against white.
Fewer elements also means fewer things to print, cut or tie wrong.
5. Wedding Program Fans with Illustrations
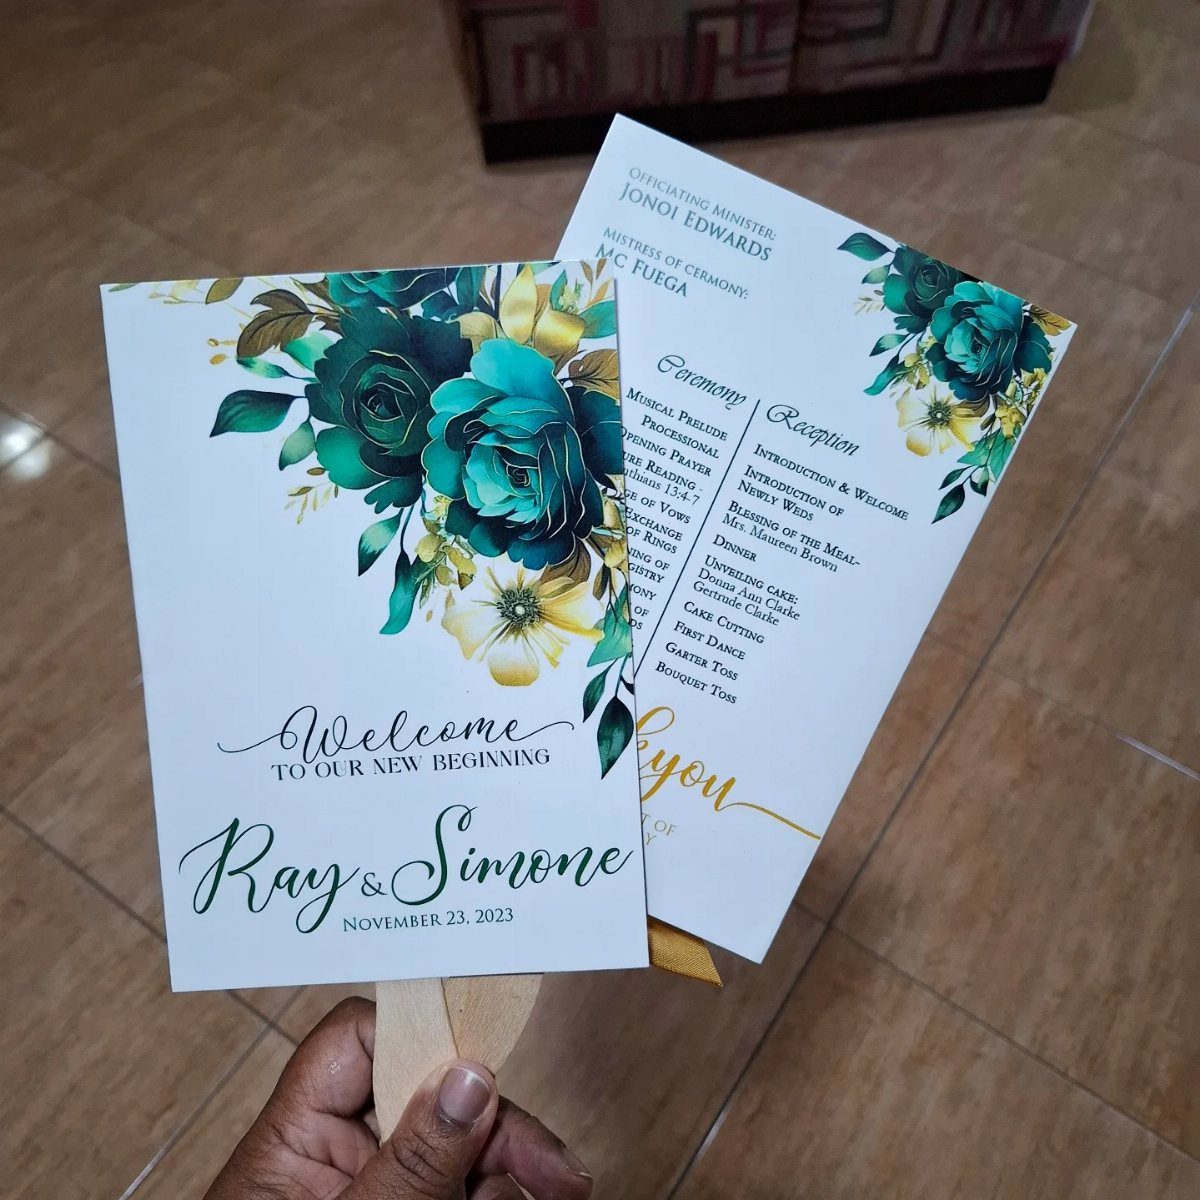
An illustration gives a program a signature look that plain type cannot. Teal florals on white cardstock stay calm enough that the script and the event schedule remain easy to read.
Keep the artwork to the edges and corners, and let the schedule sit on clear space.
If you cannot draw, a single illustration can be commissioned once and reused across the fan, the invitation and the signage, so the whole paper suite matches.
6. Paddle-style Fans
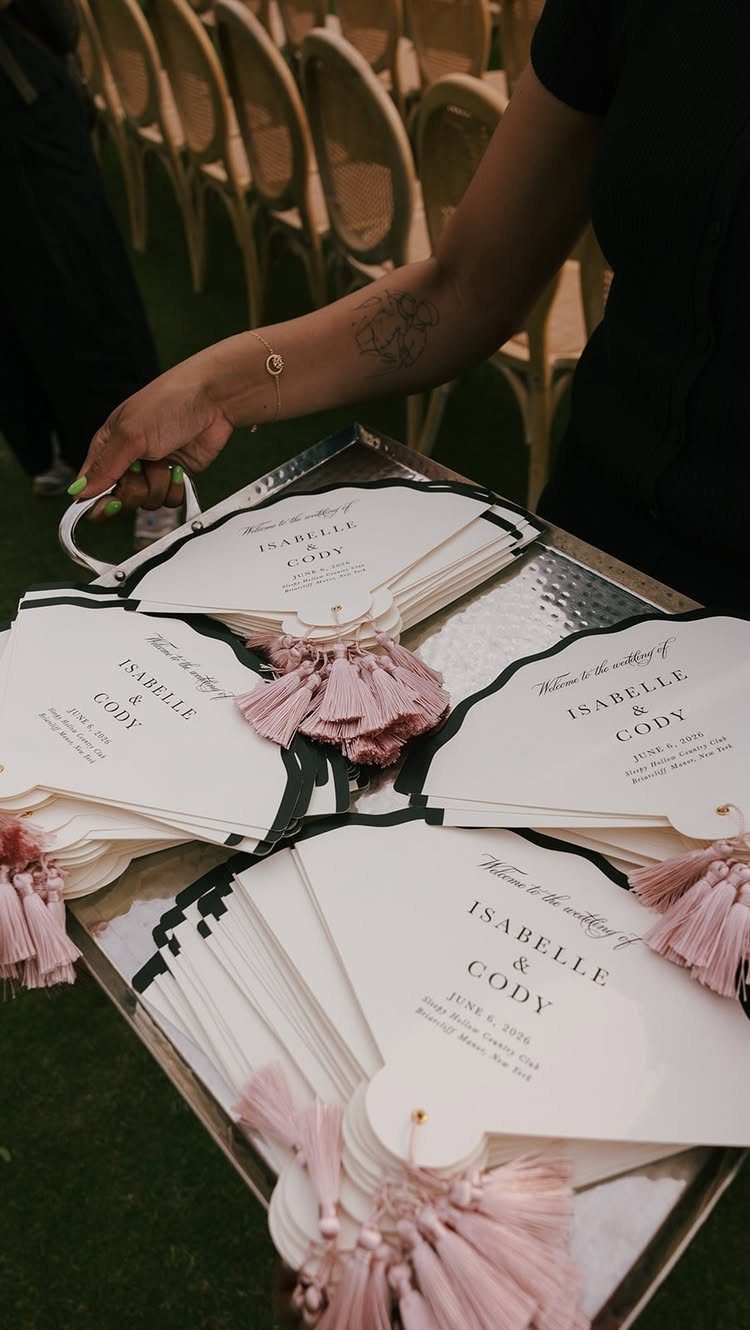
The paddle shape, a flat rounded head on a handle, gives you the largest printable face of any fan, so names and a date fit without crowding. That is why I think it is the safest format to choose.
A tassel in a bright shade like pink adds color without touching the printing, so you can keep one print run and change the look with the trim.
Stack the fans on a tray near the entrance so guests can take one as they find their seats.
Choose a handle guests can hold comfortably through a whole ceremony.
7. Program Fans with Colorful Tassels
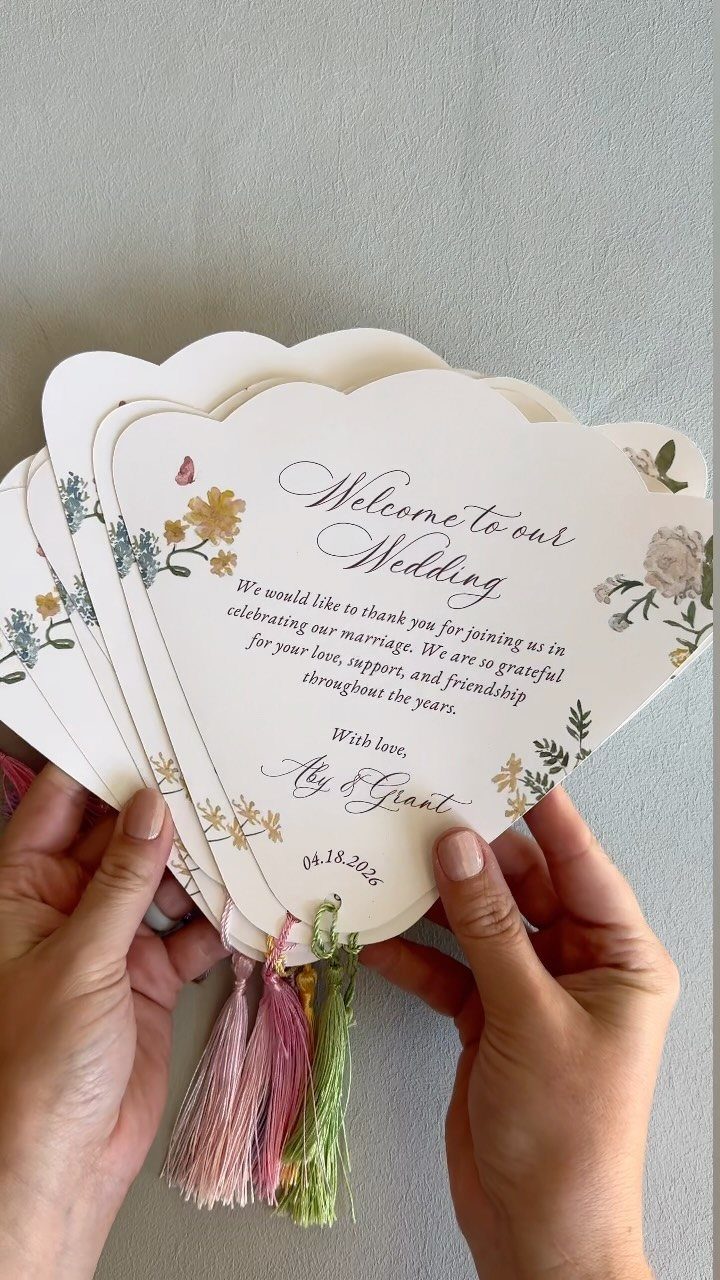
Tassels are the cheapest way to add color to a fan that is otherwise white cardstock.
Scalloped edges and a floral print already give the paper some personality, so a bright tassel on each one finishes the look without another print run.
Pick one or two tassel shades that match your flowers or bridesmaid dresses, and tie them all on at once.
A mixed bundle in a few colors would also work if your palette is wide, though a single shade looks tidier to me.
Keep the date and names printed on the front, clear of the florals.
8. Multi-panel Folding Program Fans
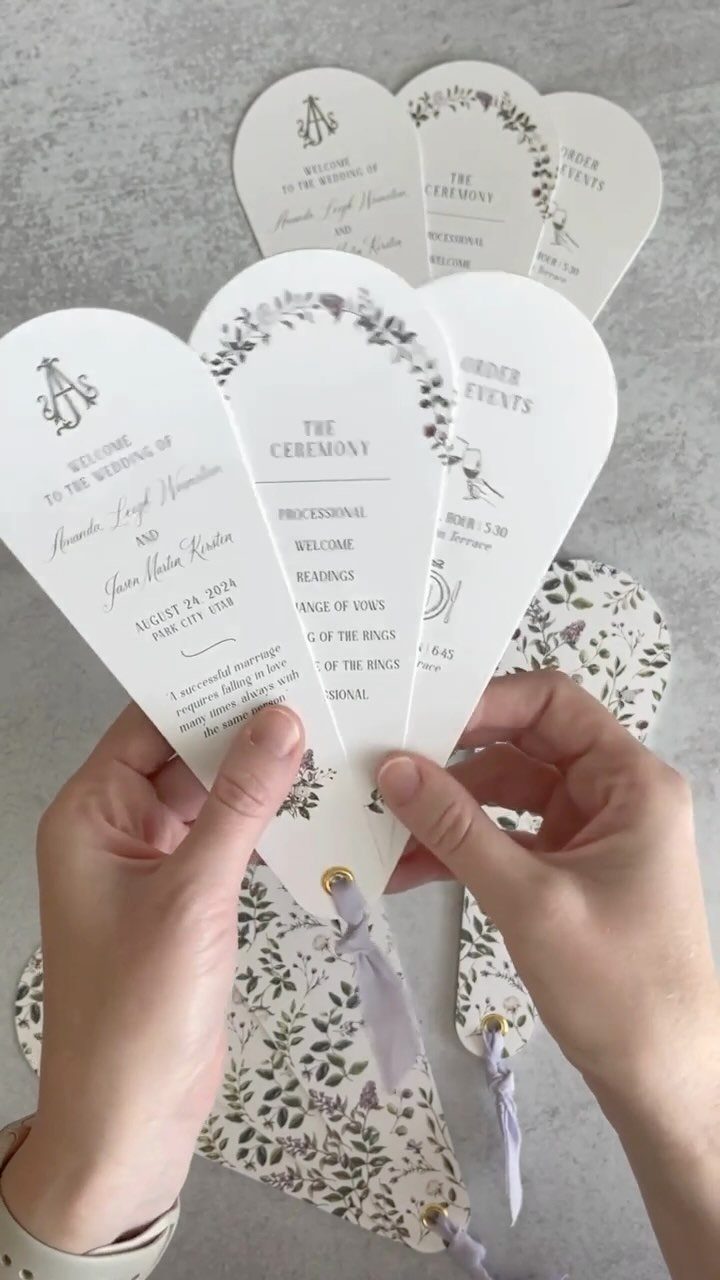
Several narrow blades pinned at one end with an eyelet or rivet make a fan that opens like a hand of cards.
Each blade can carry its own piece of the program, such as a welcome on one and the ceremony on another, so nothing gets squeezed onto a single face.
That layout suits couples with a long program. It does take more cutting and assembly than a flat fan, so I would make one sample before committing to a full batch.
Order the blades so the text reads in sequence as the fan opens.
9. Flower-shaped Program Fan
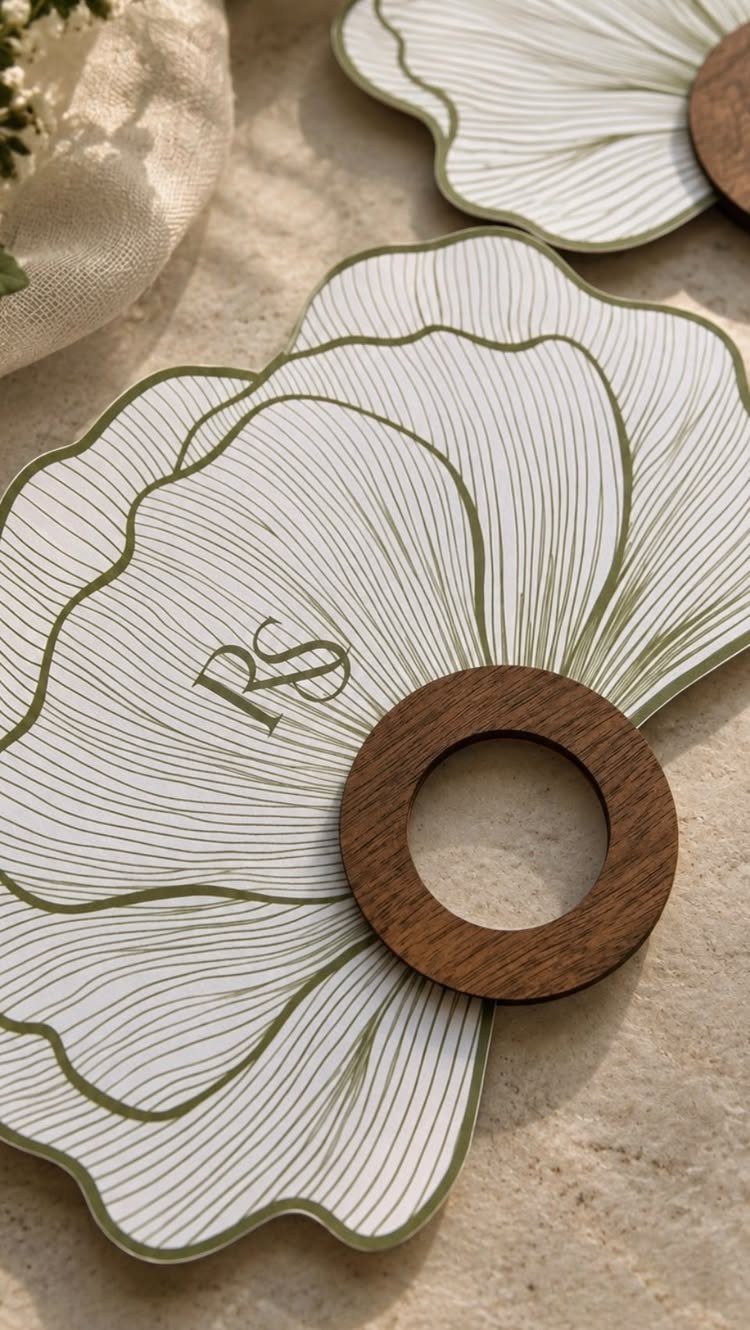
A die-cut flower shape turns the fan itself into the decoration, so very little printing is needed.
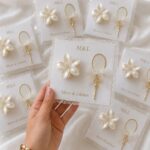
On a flower-shaped fan, fine green line art and a pair of initials are enough on plain white cardstock, and the simple look also keeps printing costs low.
A round wooden handle keeps the look simple and gives guests an easy grip. The cutting is the real cost: a petal outline needs a cutting machine or a custom die, and hand-cutting a full guest list would take patience.
If time is short, keep the program text on a separate card and let the fan be the keepsake.
Importance of Wedding Program Fans
Outdoor ceremonies are where a program fan stops being decoration and becomes equipment. Guests sitting through a summer ceremony will use one, so a sturdy stock matters more than a delicate finish.
The fan can also hold the personal material that would otherwise need its own insert: a reading, song lyrics, or a short tribute to someone who cannot be there.
Choose what you want guests to have in hand while they listen, and let the rest go.
If your ceremony is indoors and cool, a fan is a nice extra rather than a need. Spend that money elsewhere on paper if the budget is tight.
Tips for Designing Fans
Simple designs keep costs down, and I would treat that as a design rule rather than a compromise. Every added graphic, photo or font is another decision, and another chance for the page to feel crowded.
Before printing, check the balance: is the weight of the design spread evenly, or does one corner carry everything?
Squint at the page. If your eye lands in one spot and the text is easy to find, the layout is working.
Pick one photo or one graphic, not both competing for the same space. Match the fonts and colors to your wedding theme so the fan looks like part of the same paper suite as your invitation.
Real-life Examples
Real weddings show how far one object can stretch. A woven fan on each chair suited a coastal summer wedding, and a hand-painted design gave one bride a personal touch no template could match.
Culture and place can set the style too.
For a Spanish-themed wedding, an accordion-folded fan with navy trim looks right. A destination wedding in Mexico calls for something louder, and bright Otomi-print paper does that job well.
Another option is a fan with a hand-painted illustration of the venue plus florals, which guests can keep as art. Borrow the idea, not the exact look: choose a material and motif that tie to your own location or heritage.
Frequently Asked Questions
How to DIY wedding programs?
Before any glue comes out, lay out the text and print both sides of one test sheet; a typo then ruins a single page instead of 80.
How should I distribute wedding program fans to guests?
Stack them in a woven basket at the ceremony entrance so guests can take one on the way to their seats.
Ushers handing them out or a fan placed on each chair also work. A basket also shows at a glance when the fans are running out, and a second one near the aisle helps with a big crowd.
What are some popular themes for wedding program fans?
Elegant minimalist, rustic chic and botanical designs come up most often.
For a minimalist look, I would pair white cardstock and a plain wooden stick with a single satin bow, then limit the type to 2 fonts and leave the white space alone.
Illustrated florals, such as teal on white, give a botanical look while keeping the schedule easy to read.